

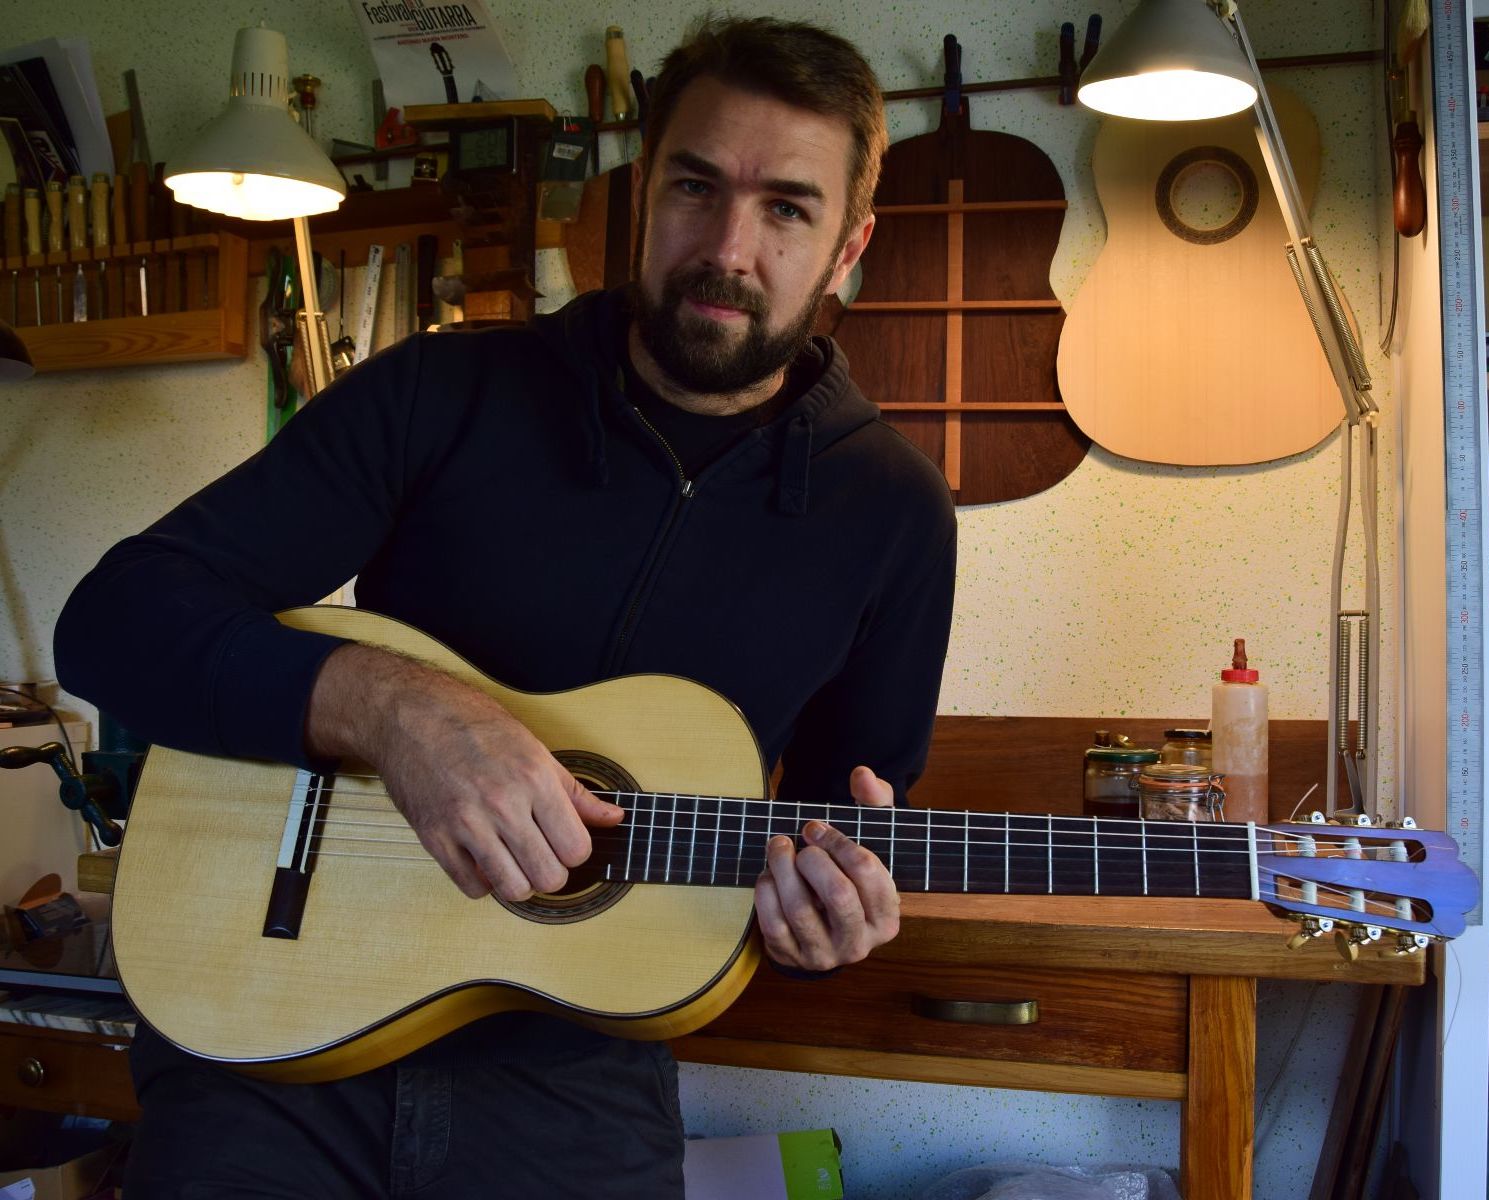
Youri Soroka: The Insights into Building the
We have received a new article from our friend Youri Soroka. In the article Youri describes in detail the building process of his “Torres” model, which has recently arrived at GSI (2020 Youri Soroka “Torres” SP/CSAR).
The Notes on Building the “Torres” Model – by Youri Soroka
Antonio de Torres (1817-1892) was well known for bringing together all the innovations of his time and creating what we know today as the modern classical guitar. His sense of proportion, the beauty of curves in his guitars , his infallible taste, his deep knowledge of wood, and his tactile sensitivity allowed him to build guitars that fascinate and inspire many even today. It’s estimated that throughout his life Torres built around 320 guitars, but only about one hundred of them are known to have survived to this day. Learning more in depth about his genius was possible thanks to the monumental work of José L. Romanillos who, in his book “Antonio de Torres: Guitar Maker – His Life and Work”, allowed us to discover his career, his methods of construction, and catalogued 88 guitars with various measurements and descriptions – a true gold mine of knowledge.
Another great source of information for me was “Cahier d’Atelier, la construction d’une guitare classique” by Robert Bouchet (1898-1986). This journal noted all the processes connected with the construction of a guitar, with valuable comments and explanations by Daniel Friederich. It’s a book that has helped me immensely in finding out how to use and apply more traditional methods most likely used by Torres back in the day. Although self-taught, Robert Bouchet was a frequent guest and spent a lot of time observing in the shop of Julian Gomez Ramirez, who built him a guitar in 1938. The knowledge he acquired observing served him later in his own career as a guitar maker.
Romanillos says: “Bouchet has been closely linked in his development with the Torres school and derived his methods from Torres and to some, though lesser, extent from Gomez Ramirez”.
Since the beginning, the work of Torres has been a huge influence on my own guitar-making style. I was instantly attracted by the aesthetic and sound of his guitars. That’s why, in this article I’d like to describe some construction methods that were specific to Torres and early Spanish makers that followed Torres. I also apply these methods and principles when building my own instruments. Of course, I have a model dedicated to him, called “Torres”.
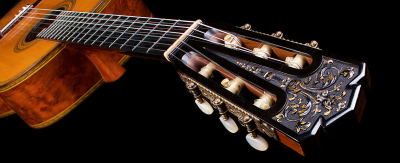
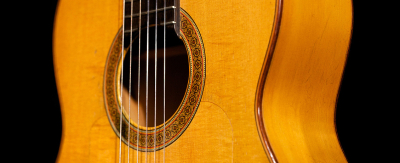
Rosettes and decorations


As did Torres, I assemble my rosettes directly in the soundboard, making it easy to customize them in different guitars. For this particular instrument, I took the time to dye my own green veneer, as commercially available veneer colors are very different from ones used by Torres.
Animal glue
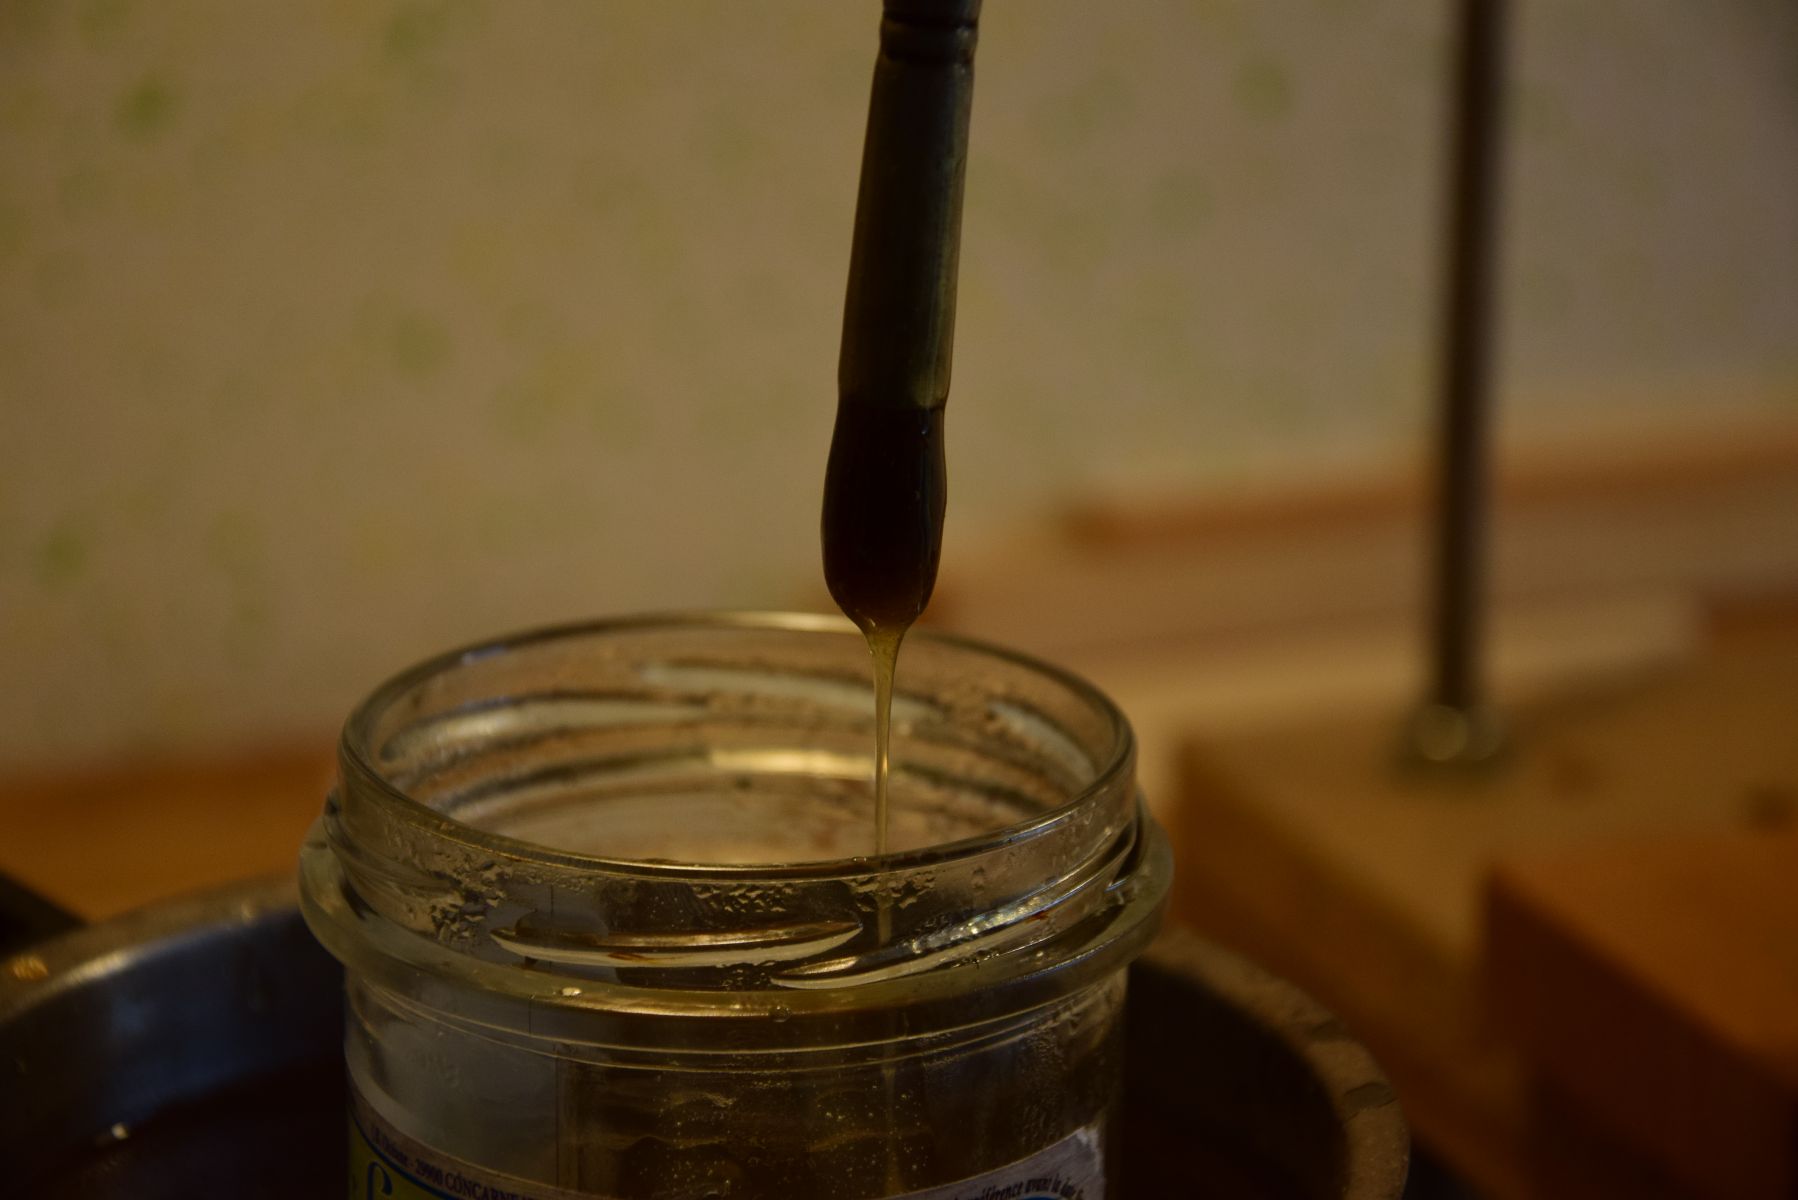
I use traditional animal glues throughout the building process as it was used by the guitar makers from the past. I mix hide glue and bone glue in different proportions for different types or gluing operations. To glue the top bracing, I use mostly bone glue with about 15 percent of hide glue as the hide glue retracts more and creates tension. It could lead to distortions of the thin spruce plate. But the same effect is an advantage when one glues the bindings. Glue sucks up the bindings in place as it dries. For most of the neck and body glue ups I use one part of hide glue for three parts of bone glue.
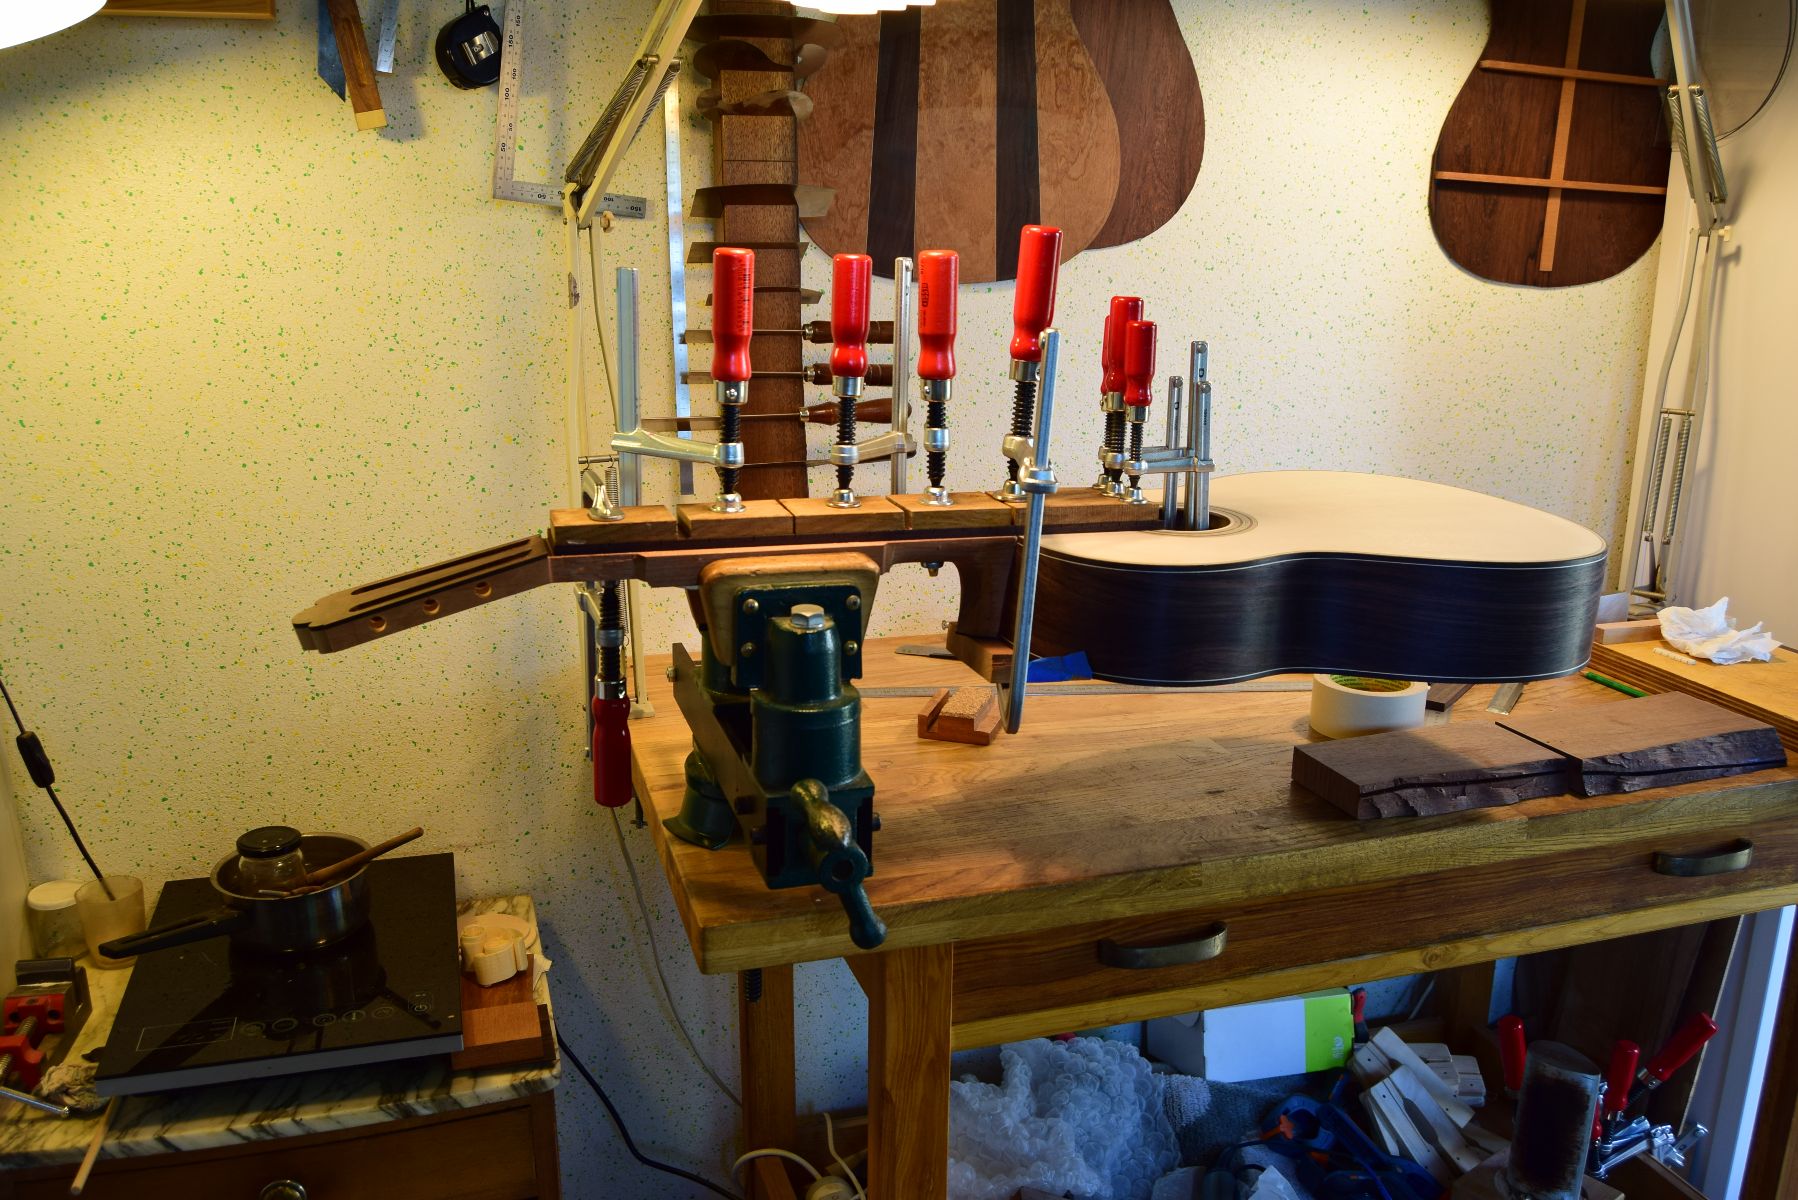
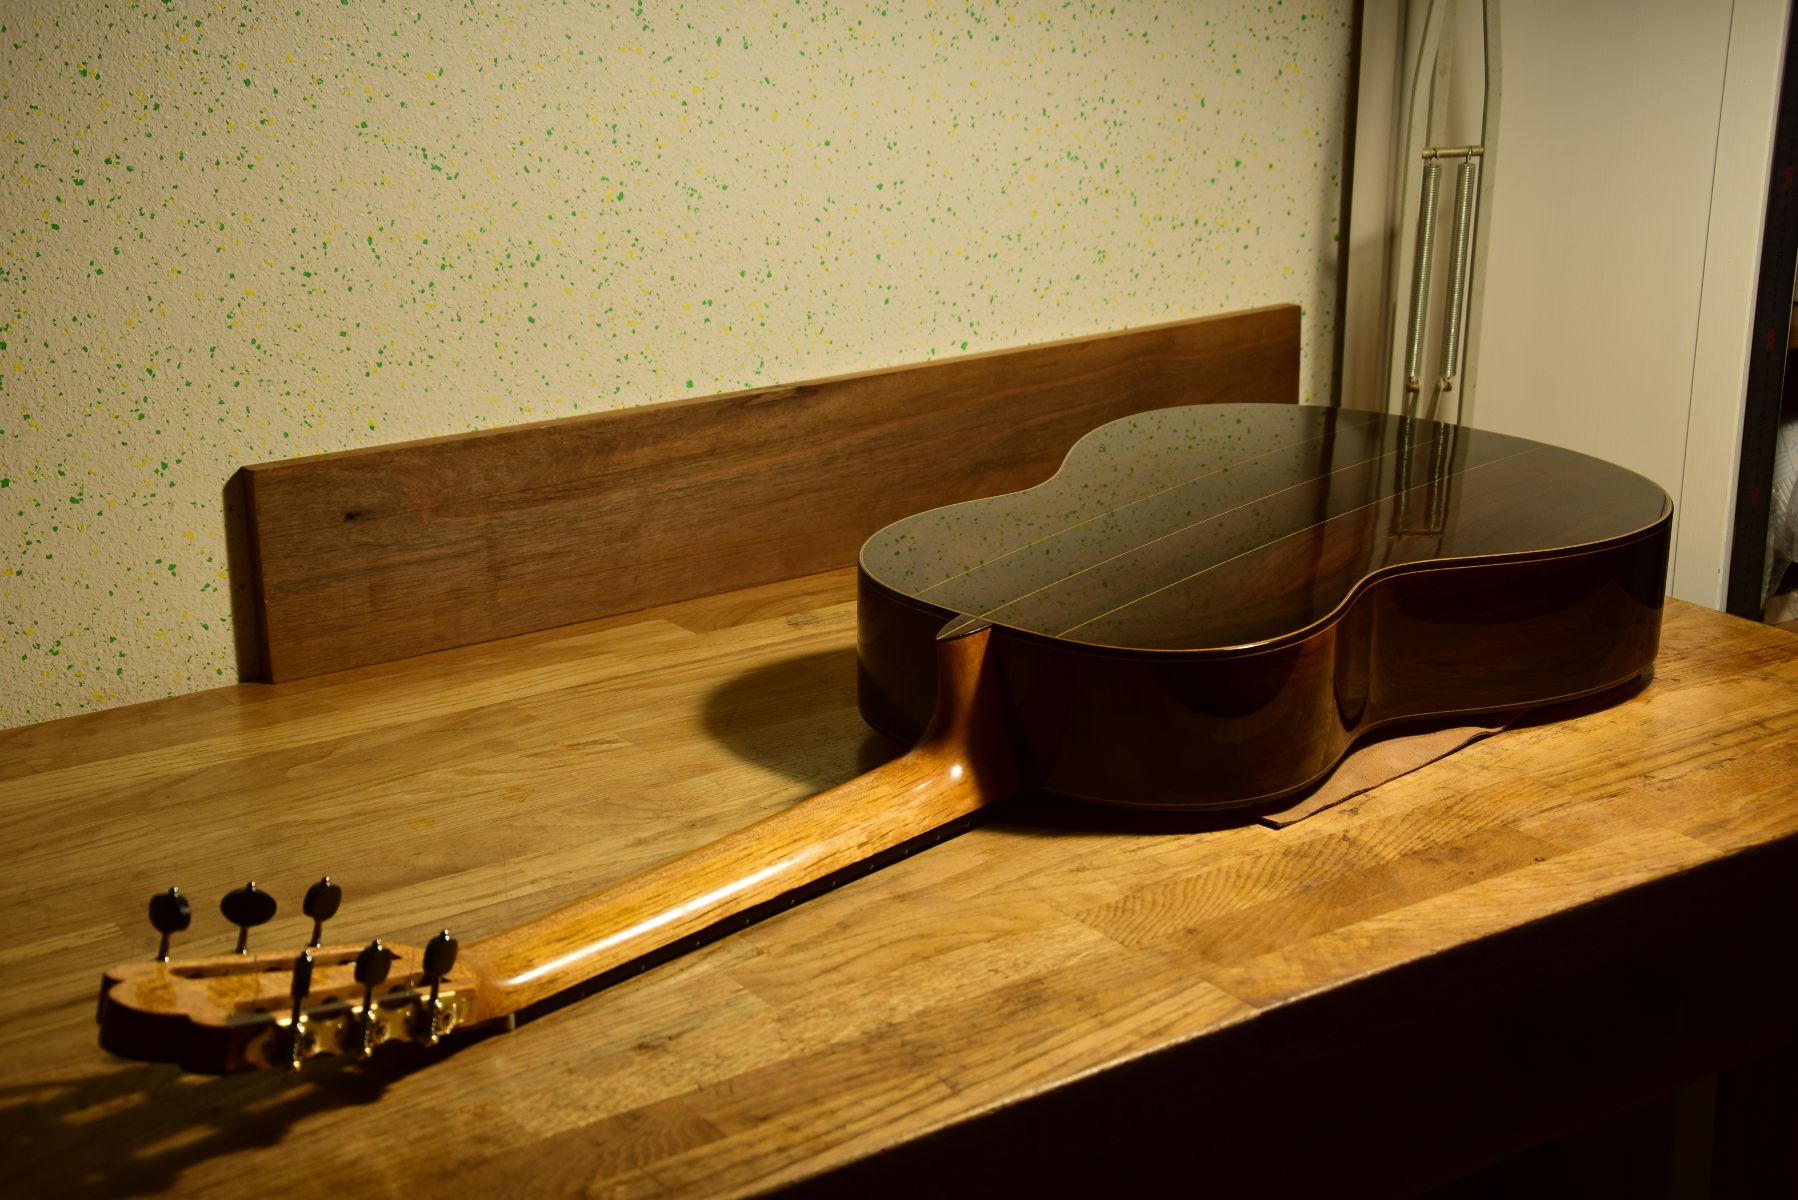
Solera and free assembly
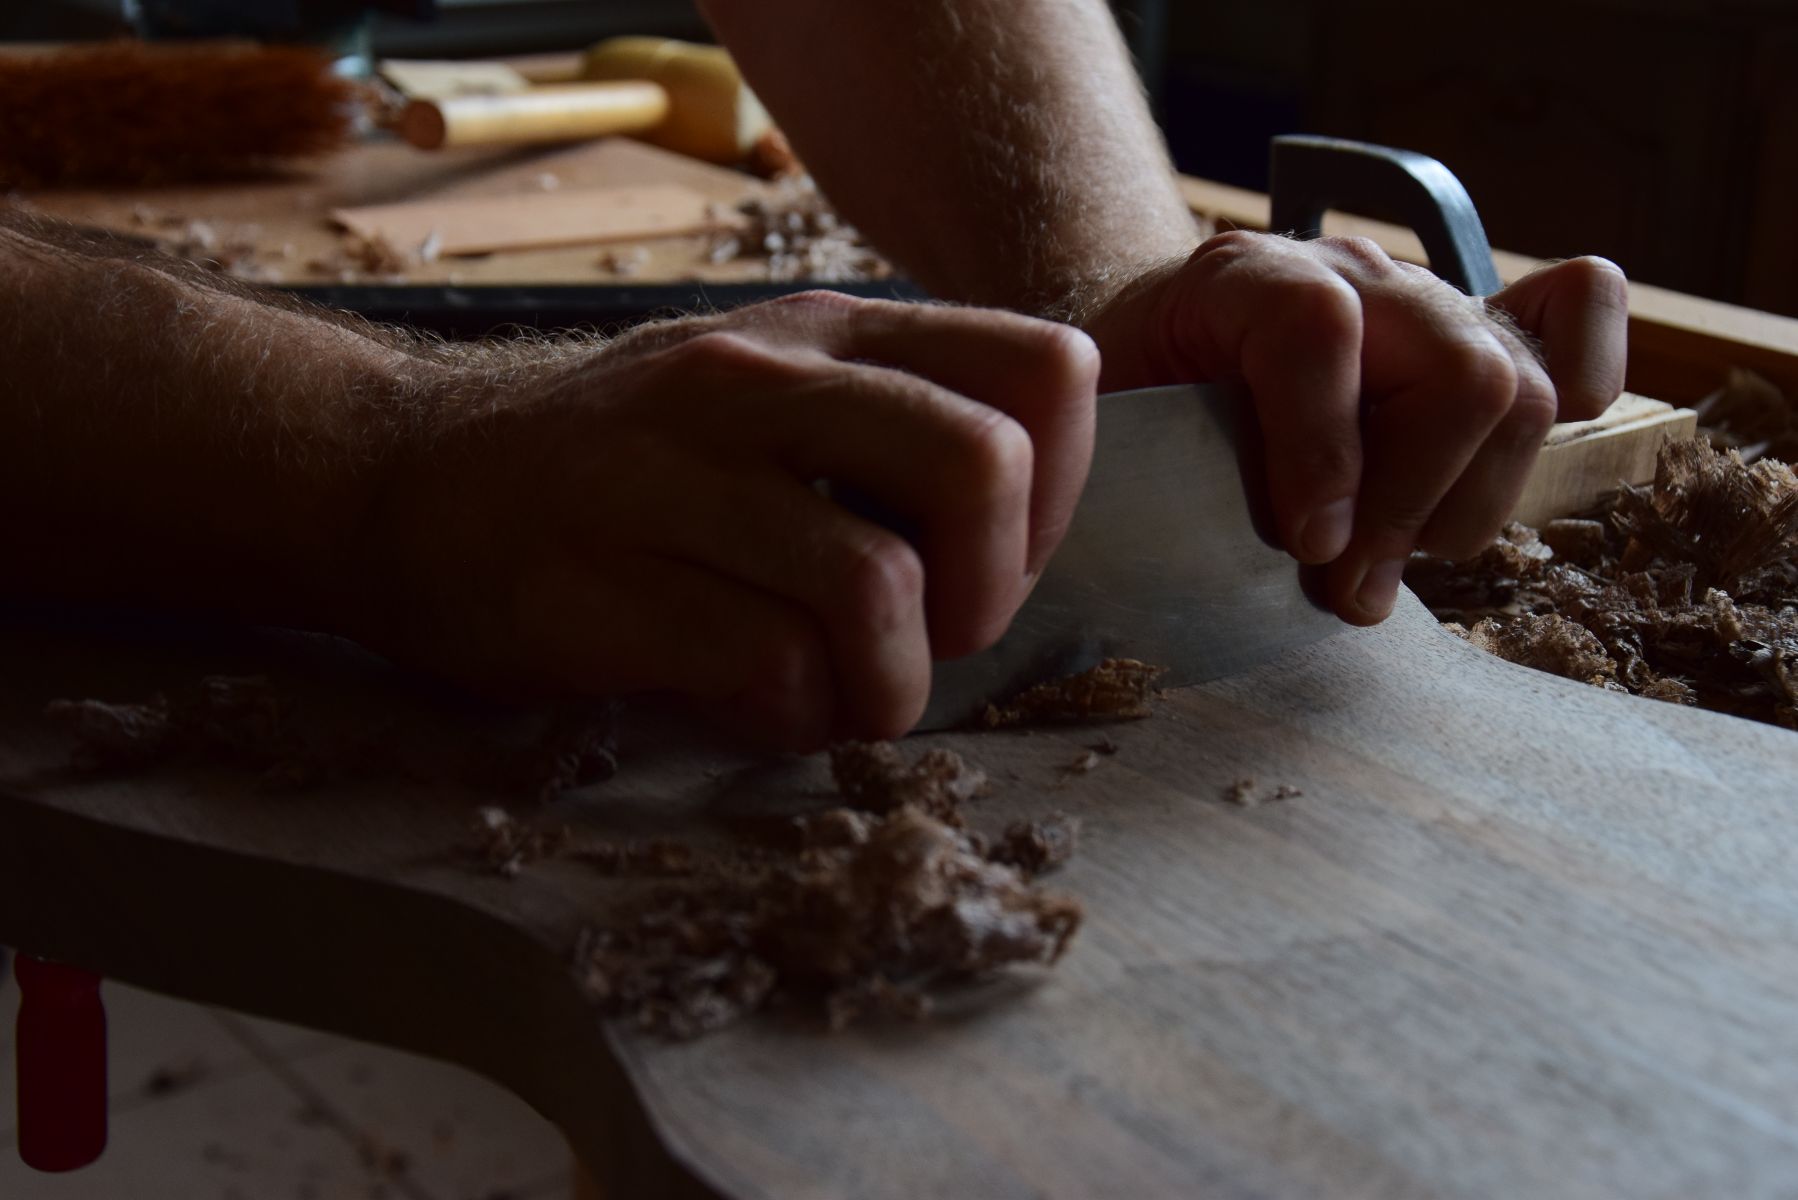
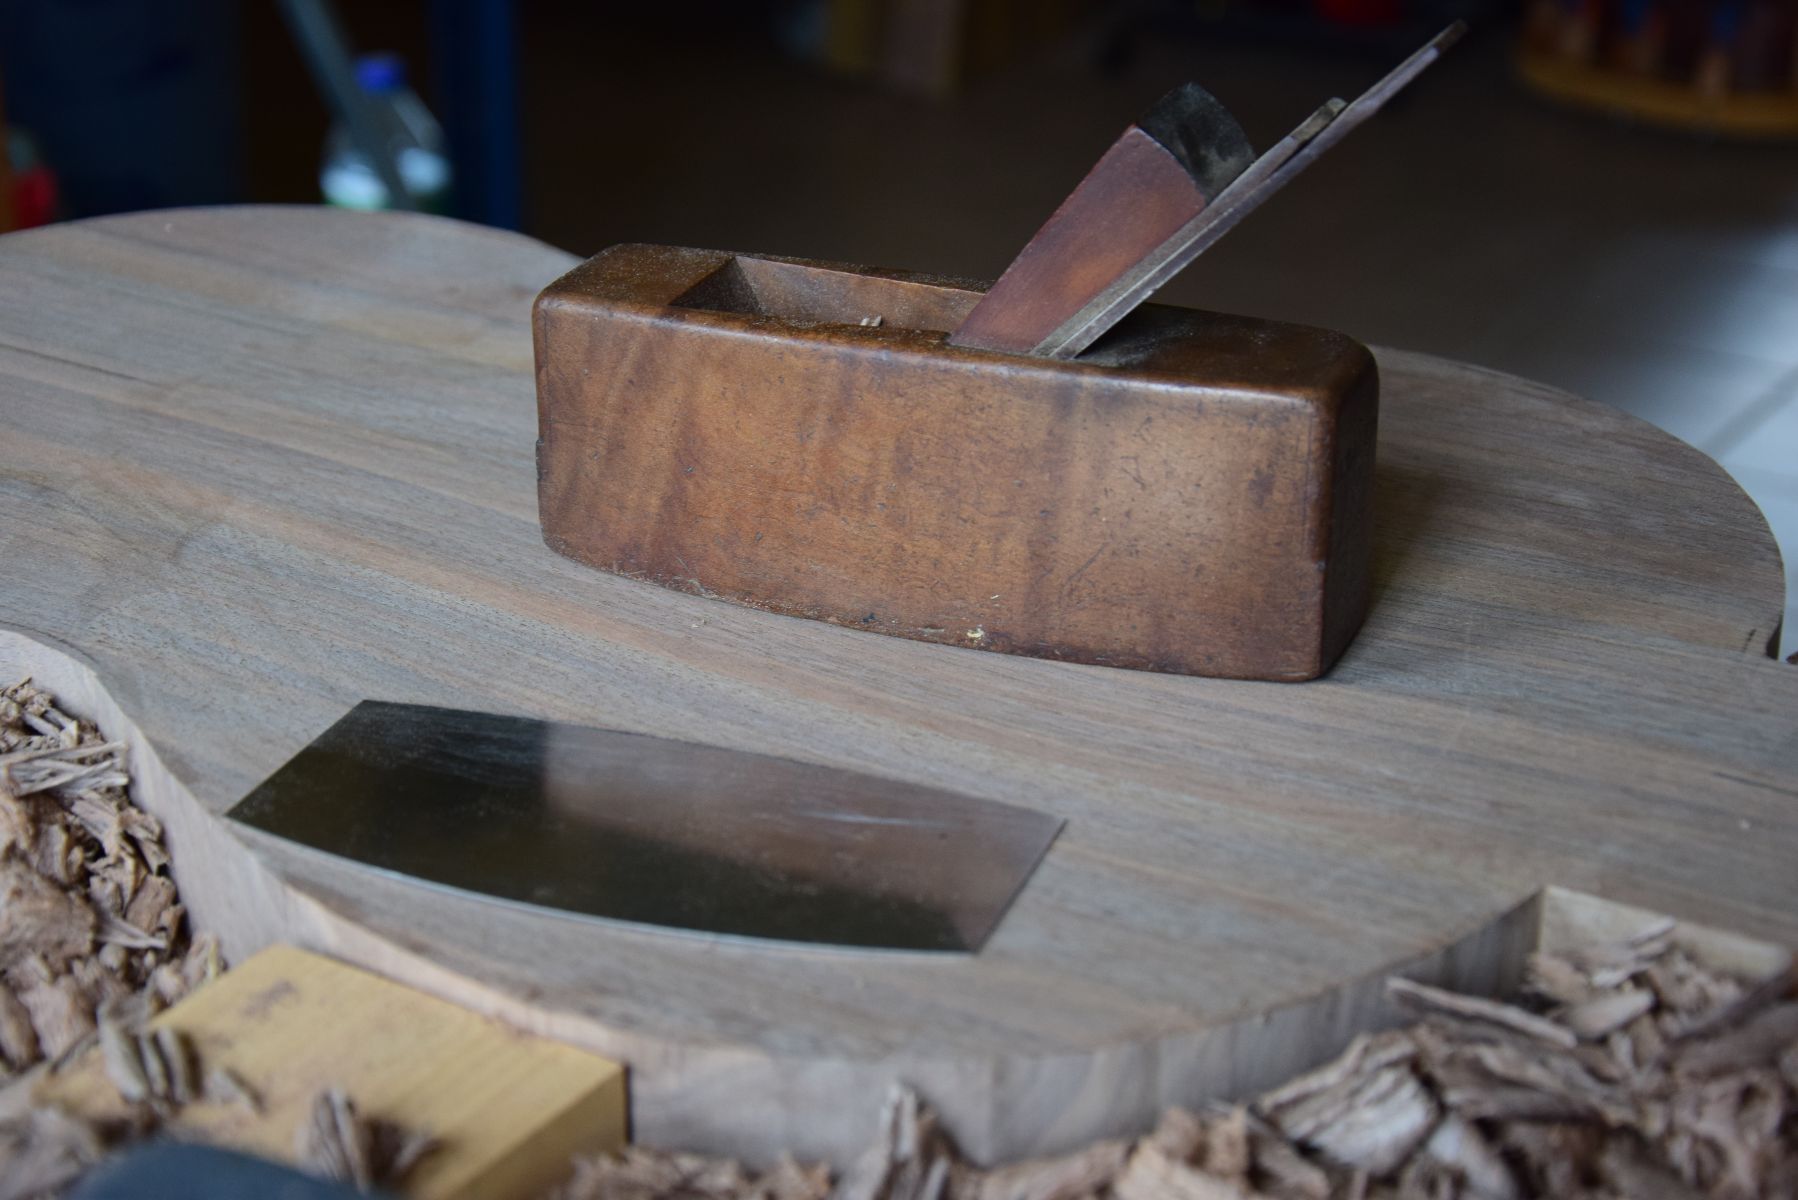
To build the solera, I used black walnut since it’s a stable wood which is easy to work with. The neck of the guitar is parallel to the table, and the proper action is achieved by shaping the fingerboard. I used a convex sole plane and then a scraper to scoop out a cavity to receive the doming of the top. I didn’t use any templates; I just tried to achieve a nice, even curve all the way down and in all directions.
One of the characteristics of the early Spanish guitar-making school that appeals to me is that the guitars are assembled on a solera in what is called the “free assembly” method. There is no rigid mold to guarantee that the sides follow the plantilla precisely. The sides are simply bent to the line on a hot pipe and this results in slight asymmetry – almost invisible to the naked eye. This is something that gives each instrument its own character and uniqueness.
This method, although more difficult to execute, gives a good deal of liberty and allows to one to change plantillas, scales, etc. with ease.

Thicknesses

With guitar-making, the final quality of the sound is largely determined by the thicknesses of the top, back and sides, as well as the choice of wood. After studying the information cited in the catalog of known guitars produced by Romanillos, as well as the plans with available measurements (including the guitar numbered SE 114 which belonged to Tárrega), I was able to observe a tendency of Torres to use rather thick backs (compared to other makers). The sides, on the contrary, are very thin (probably the reason for this was the ease of bending). The soundboard, on the other hand, has varying thicknesses – thicker in the central area and thinner in periphery. Indeed, Torres was building a fine and resonant structure on a solid foundation. From my experience, the solid back helps to create a powerful sound and better sound projection. The thin sides help to achieve a lower body resonance, and the thinner top brings incomparable richness to the sound. The challenge is to find a good balance with the thickness of the top. Each piece of wood is unique, and our tactile sensations and experiences allow us to find the optimal flexibility.
I glue the bridge to the guitar before a finish is applied, which gives me the opportunity to play guitar “in the white” (before the varnish is applied) and to tune thicknesses in order to find the optimal tension and the best possible sound quality.
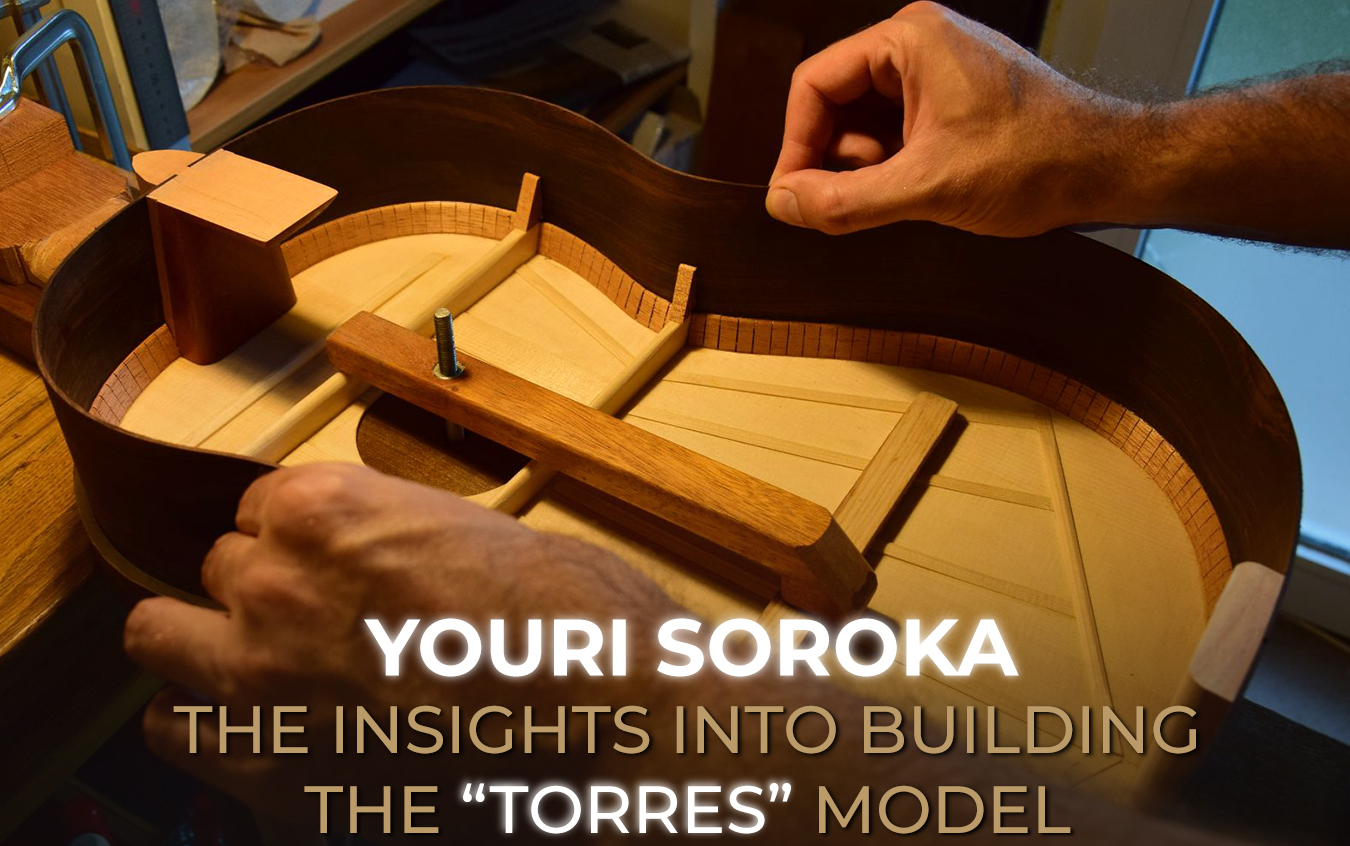
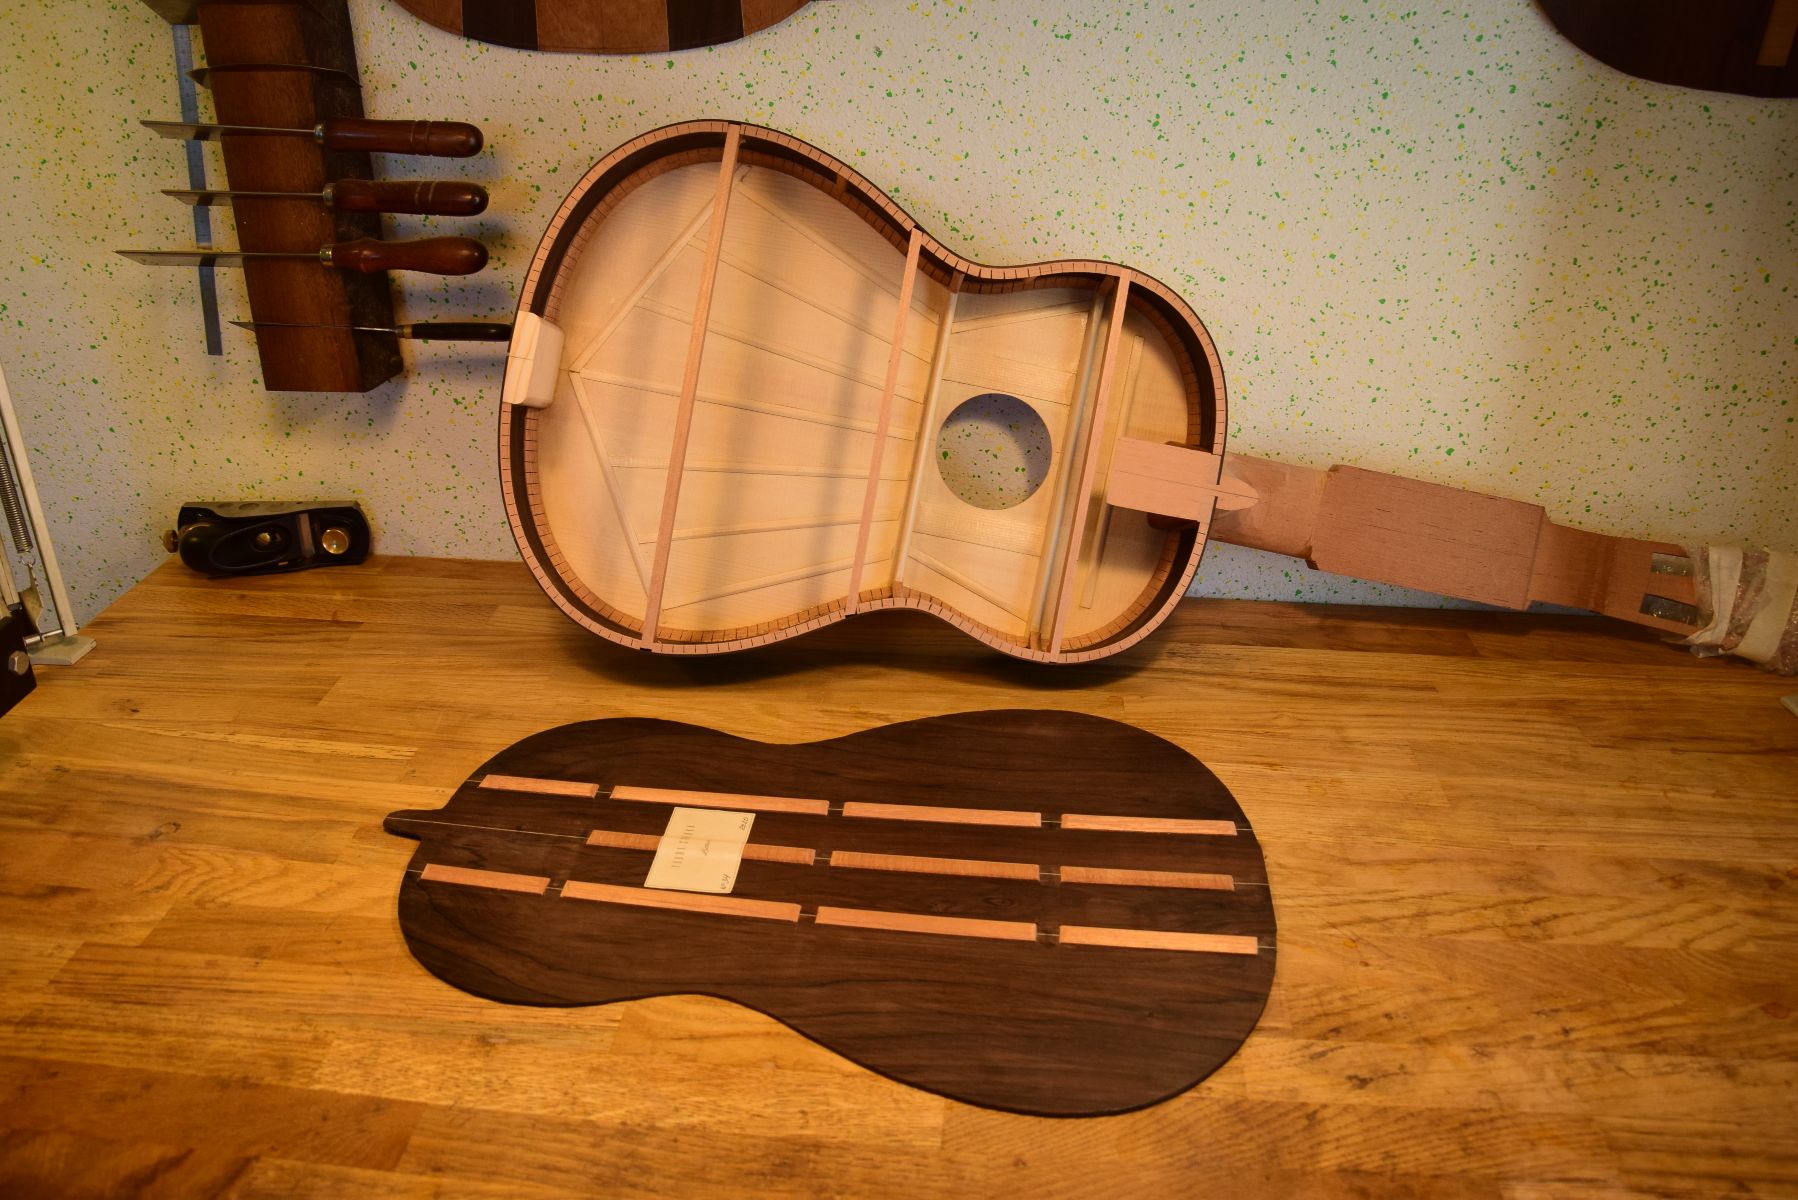
Doming and fan bracing
Another important guitar feature of Torres’ guitar architecture is the doming of the lower bout of the soundboard. Indeed, the added rigidity is essential to allow for a thinner soundboard and lighter bracing. Doming also helps to increase stability and to some extent prevent cracks in the soundboard during climatic changes.

Transverse bars
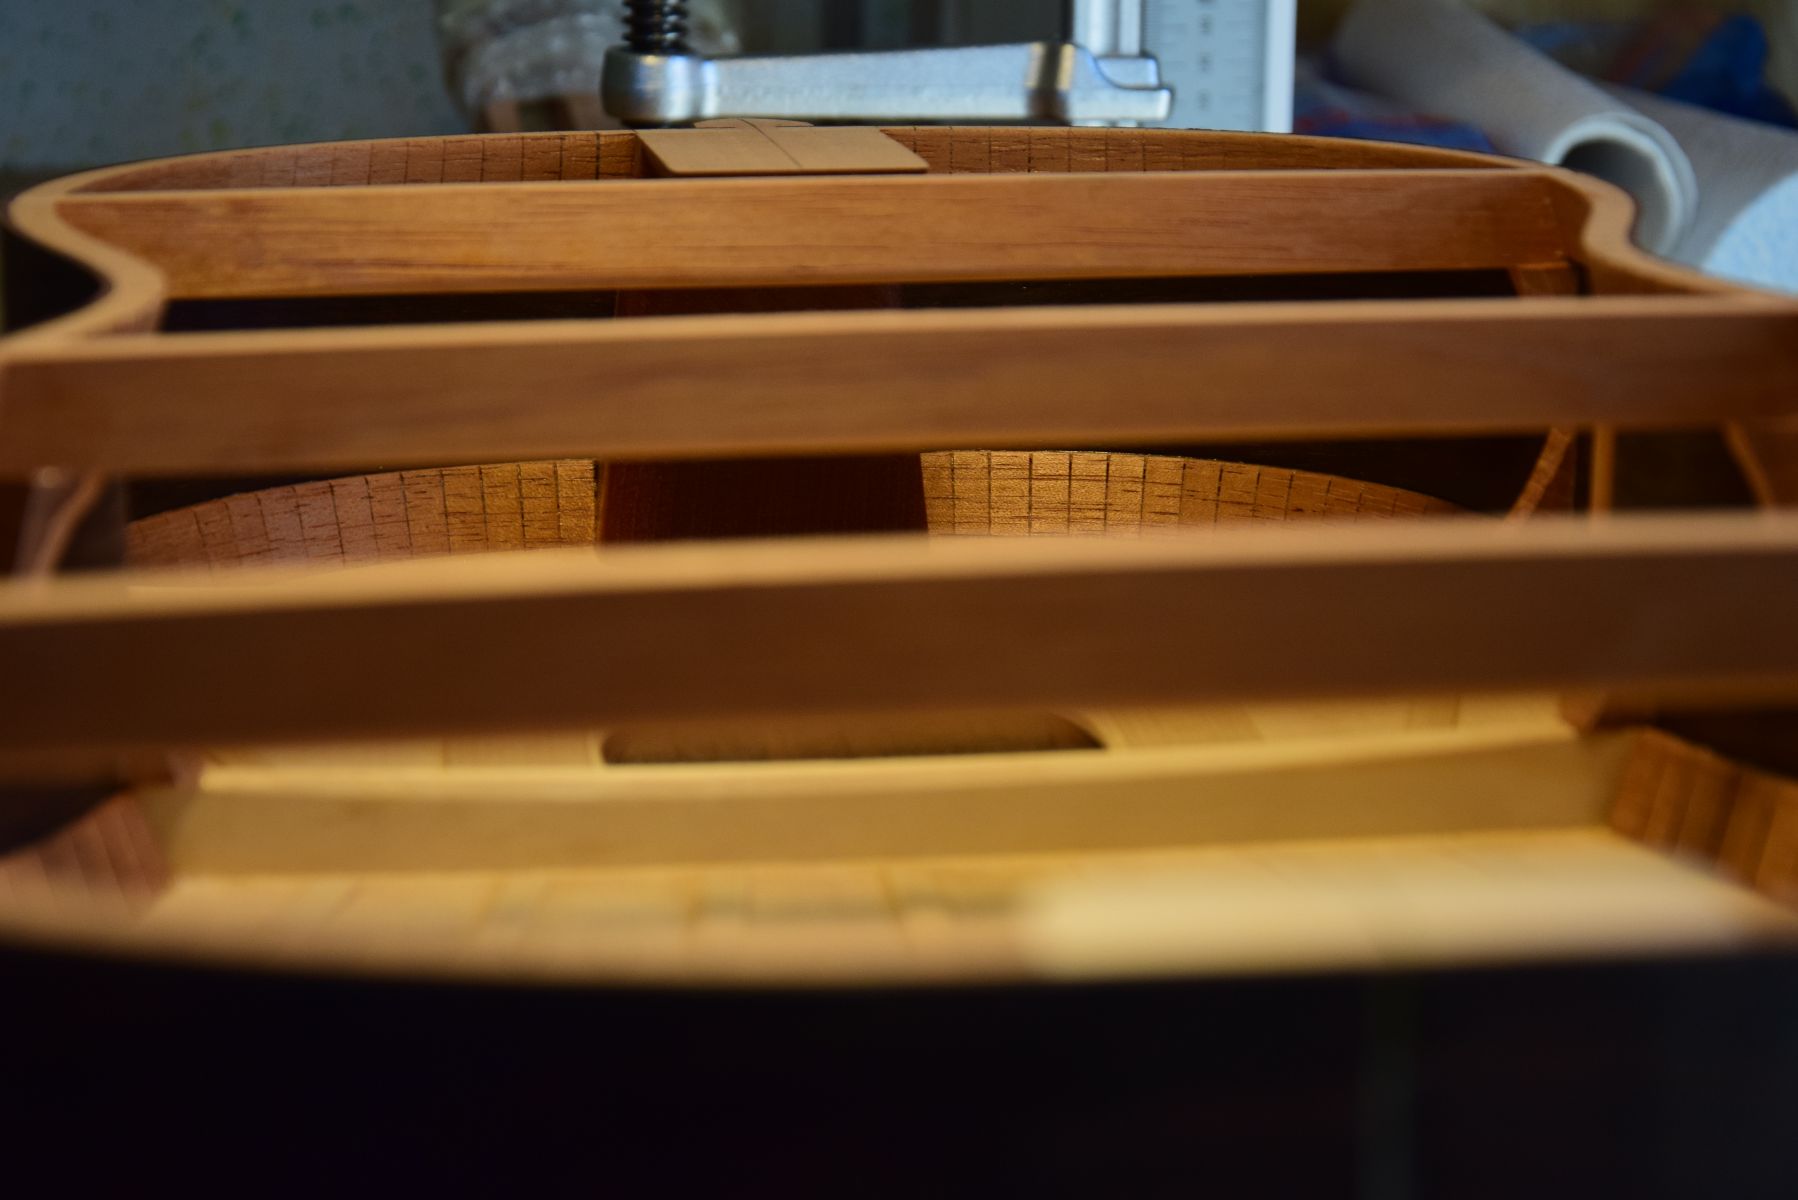
In Torres guitars, transverse bars are not scalloped at the ends since their height is maintained along the entire length. All bars are anchored to the sides with triangular blocks. In my opinion, this offers several advantages such as increased torsional strength and reduced tension associated with the bending of the ribs, especially in combination with thin sides.
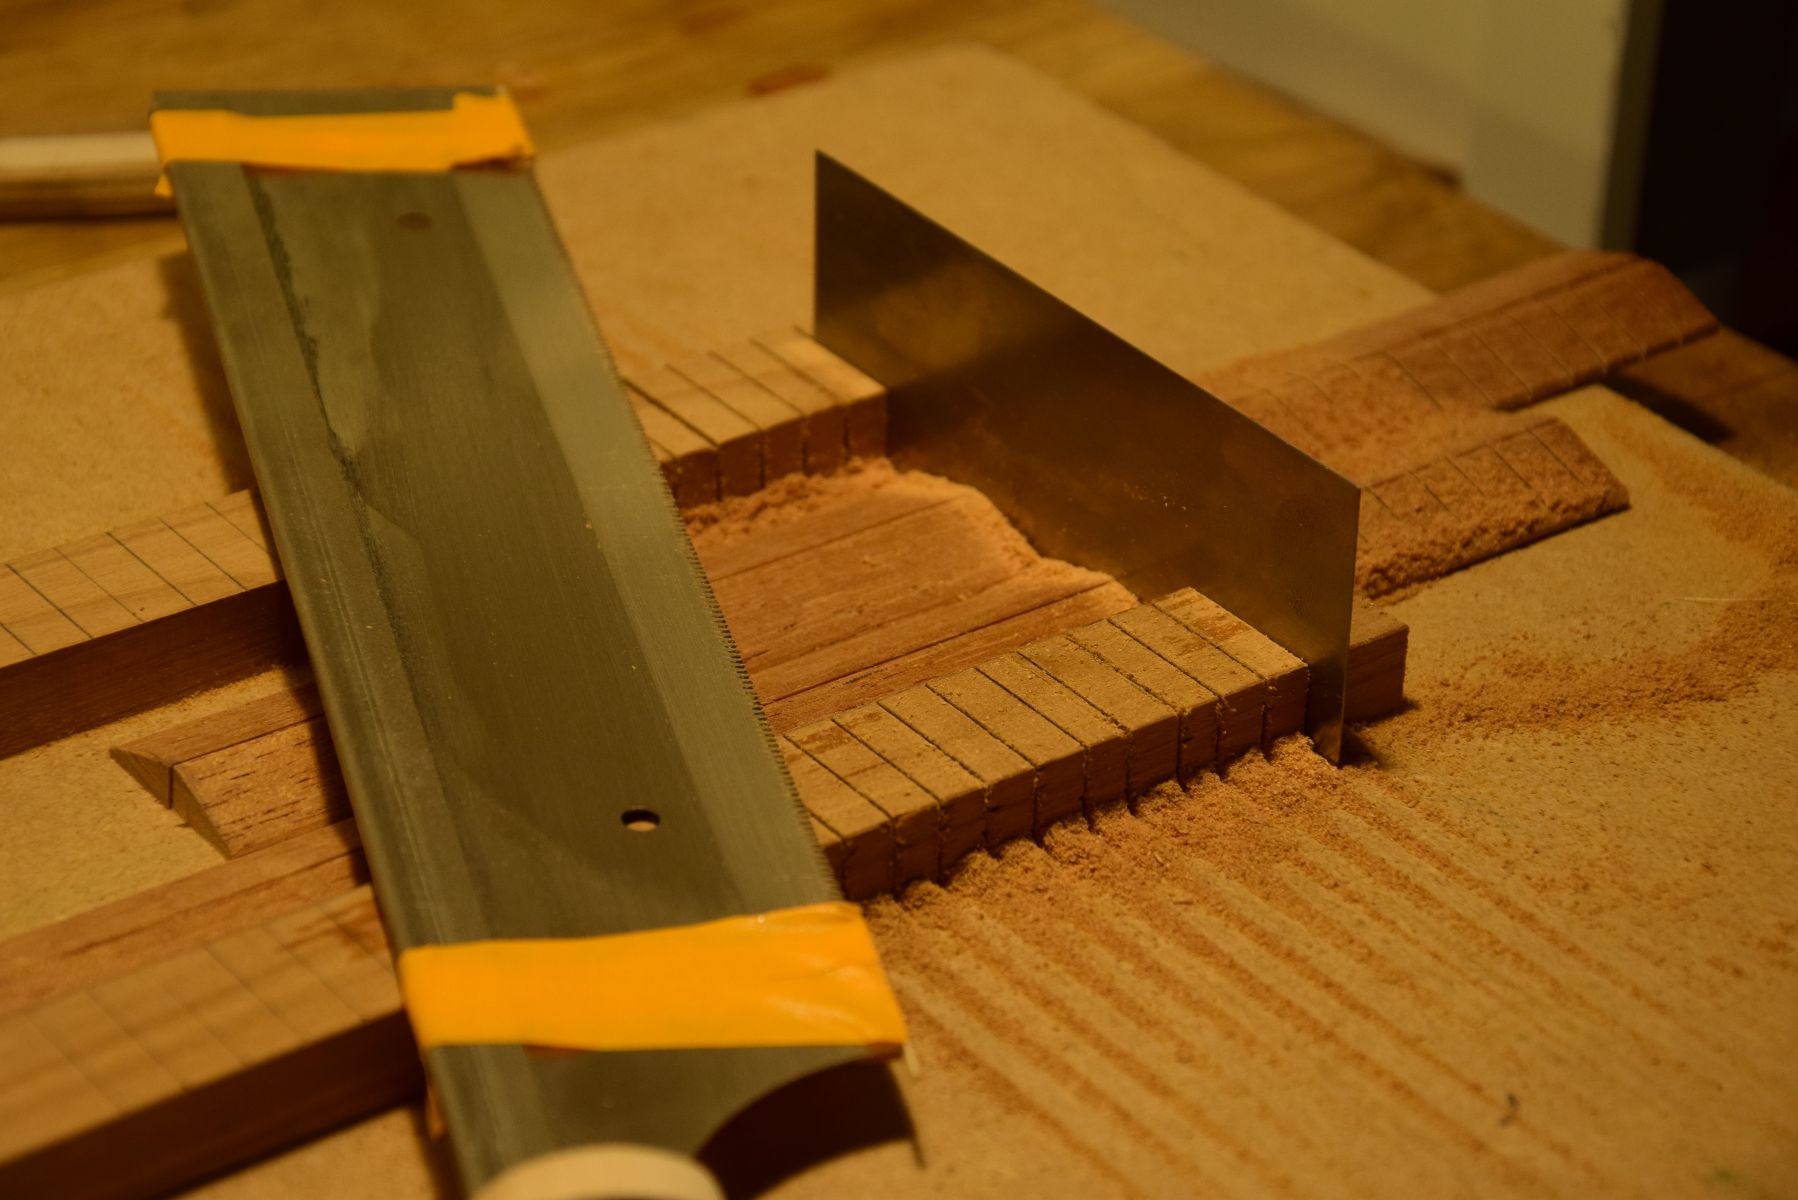
Nowadays, the “Spanish” method of gluing the top to the sides is to use individual blocks also called “tentellones”, glued one by one. In most of his guitars, Torres used continuous kerfed linings for both the top and back of the guitar. I use simple hand-tool methods to kerf the linings, and to then glue them using homemade clamps.
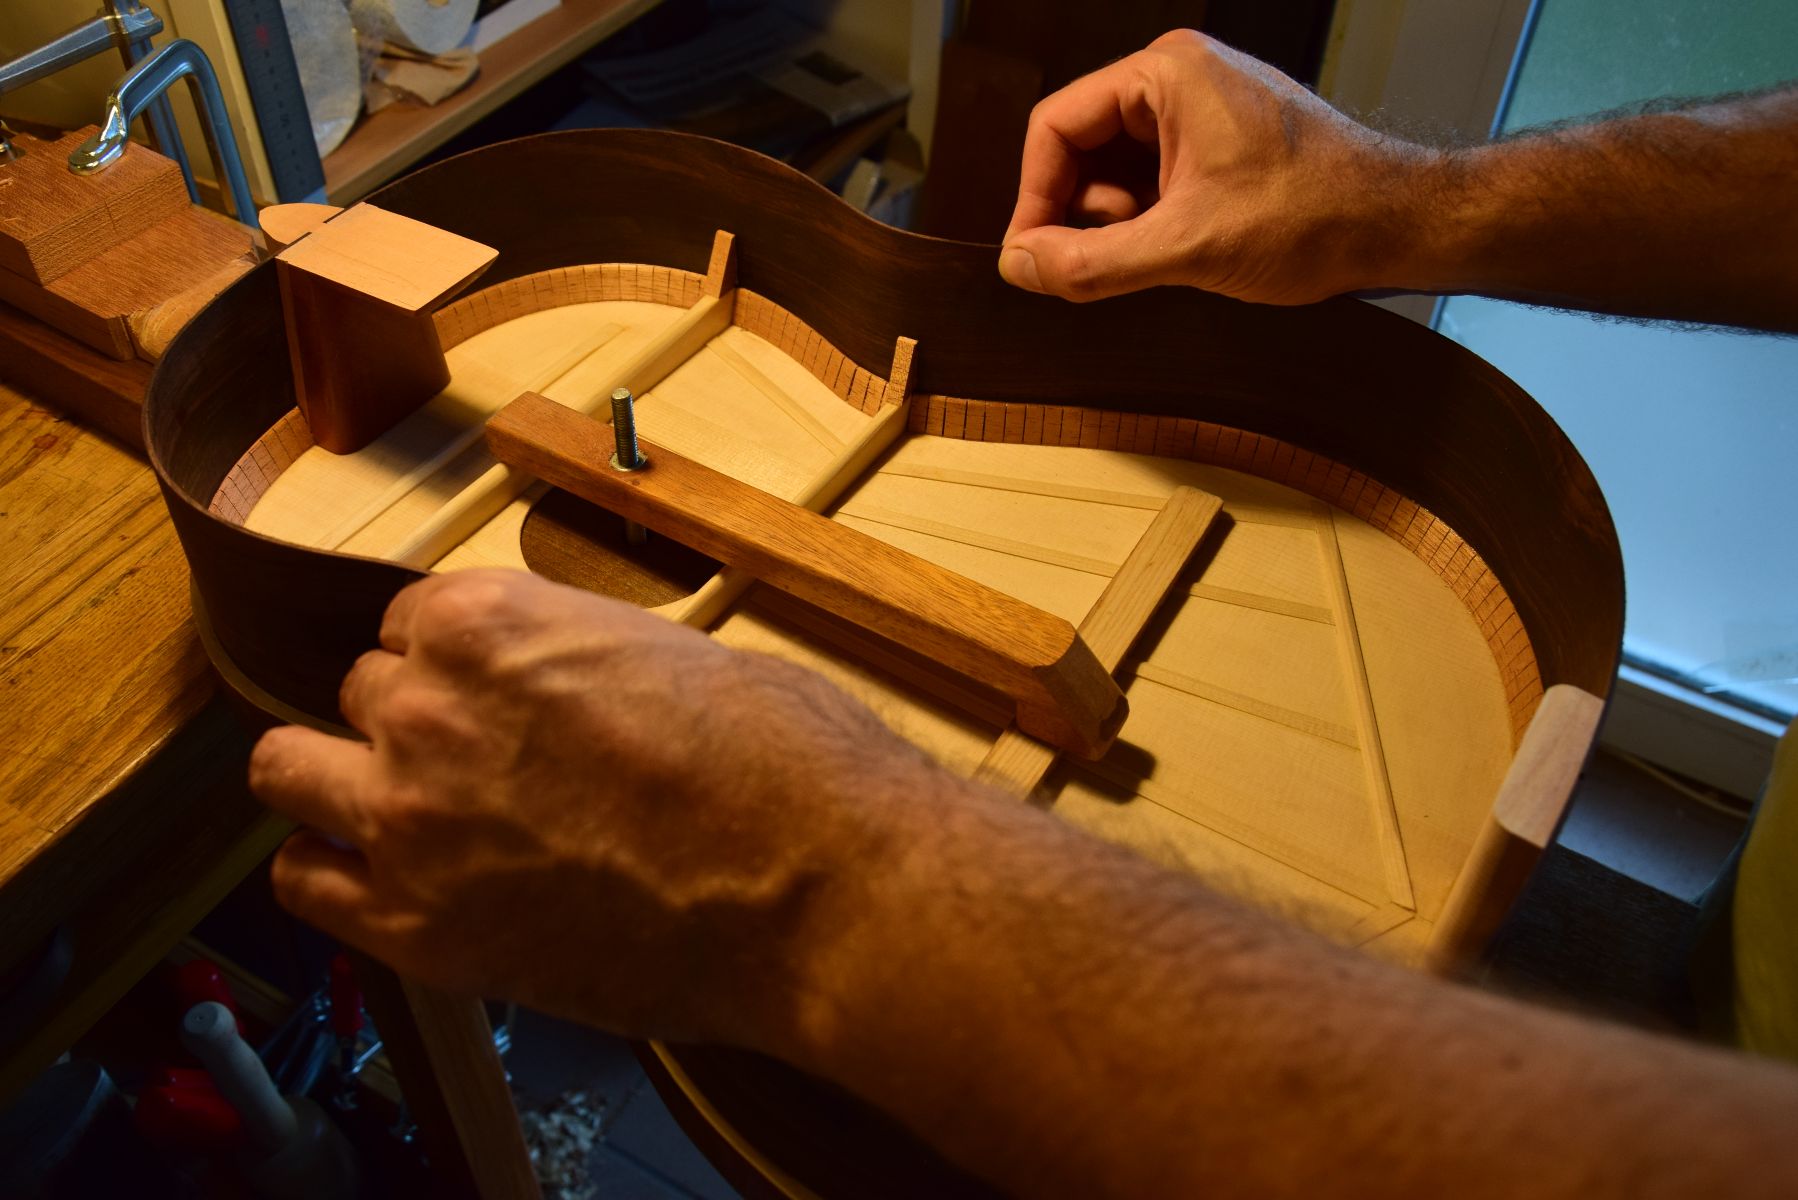
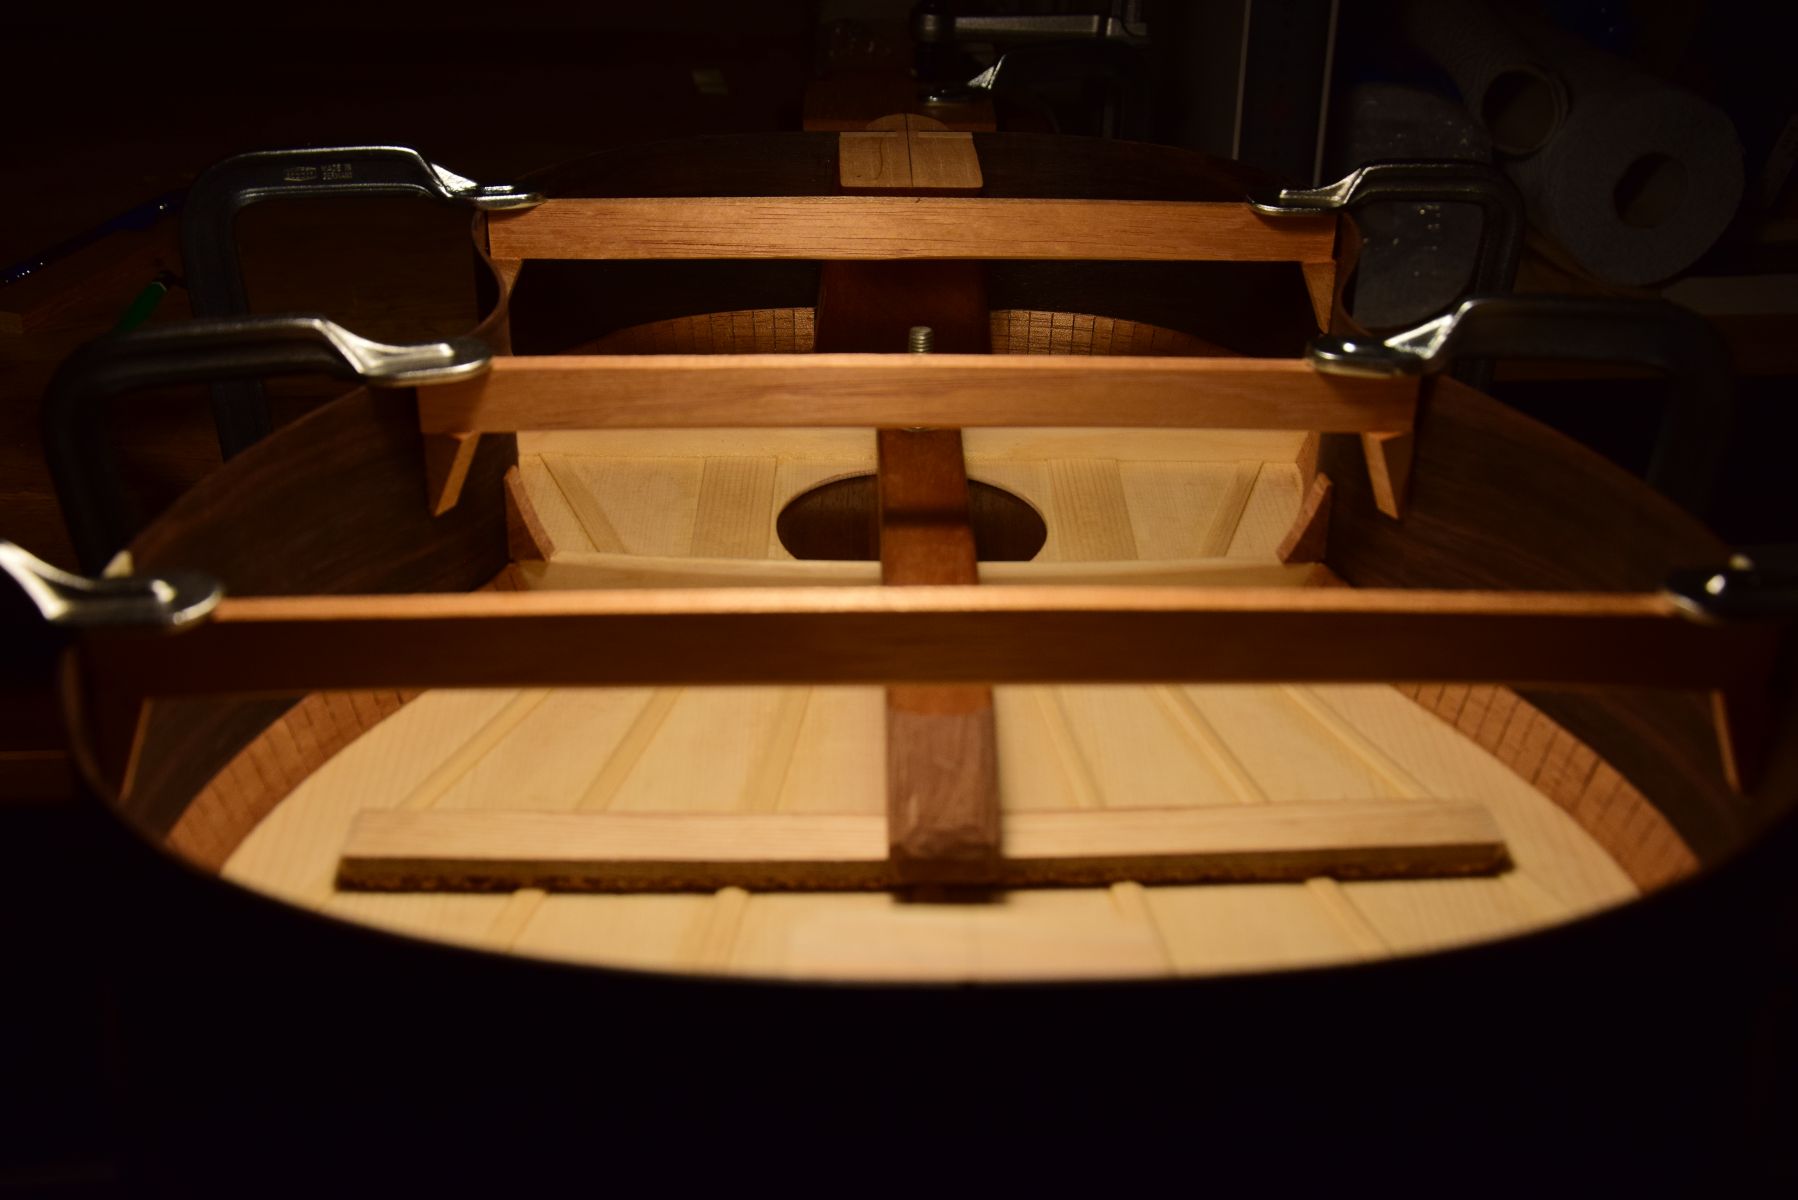
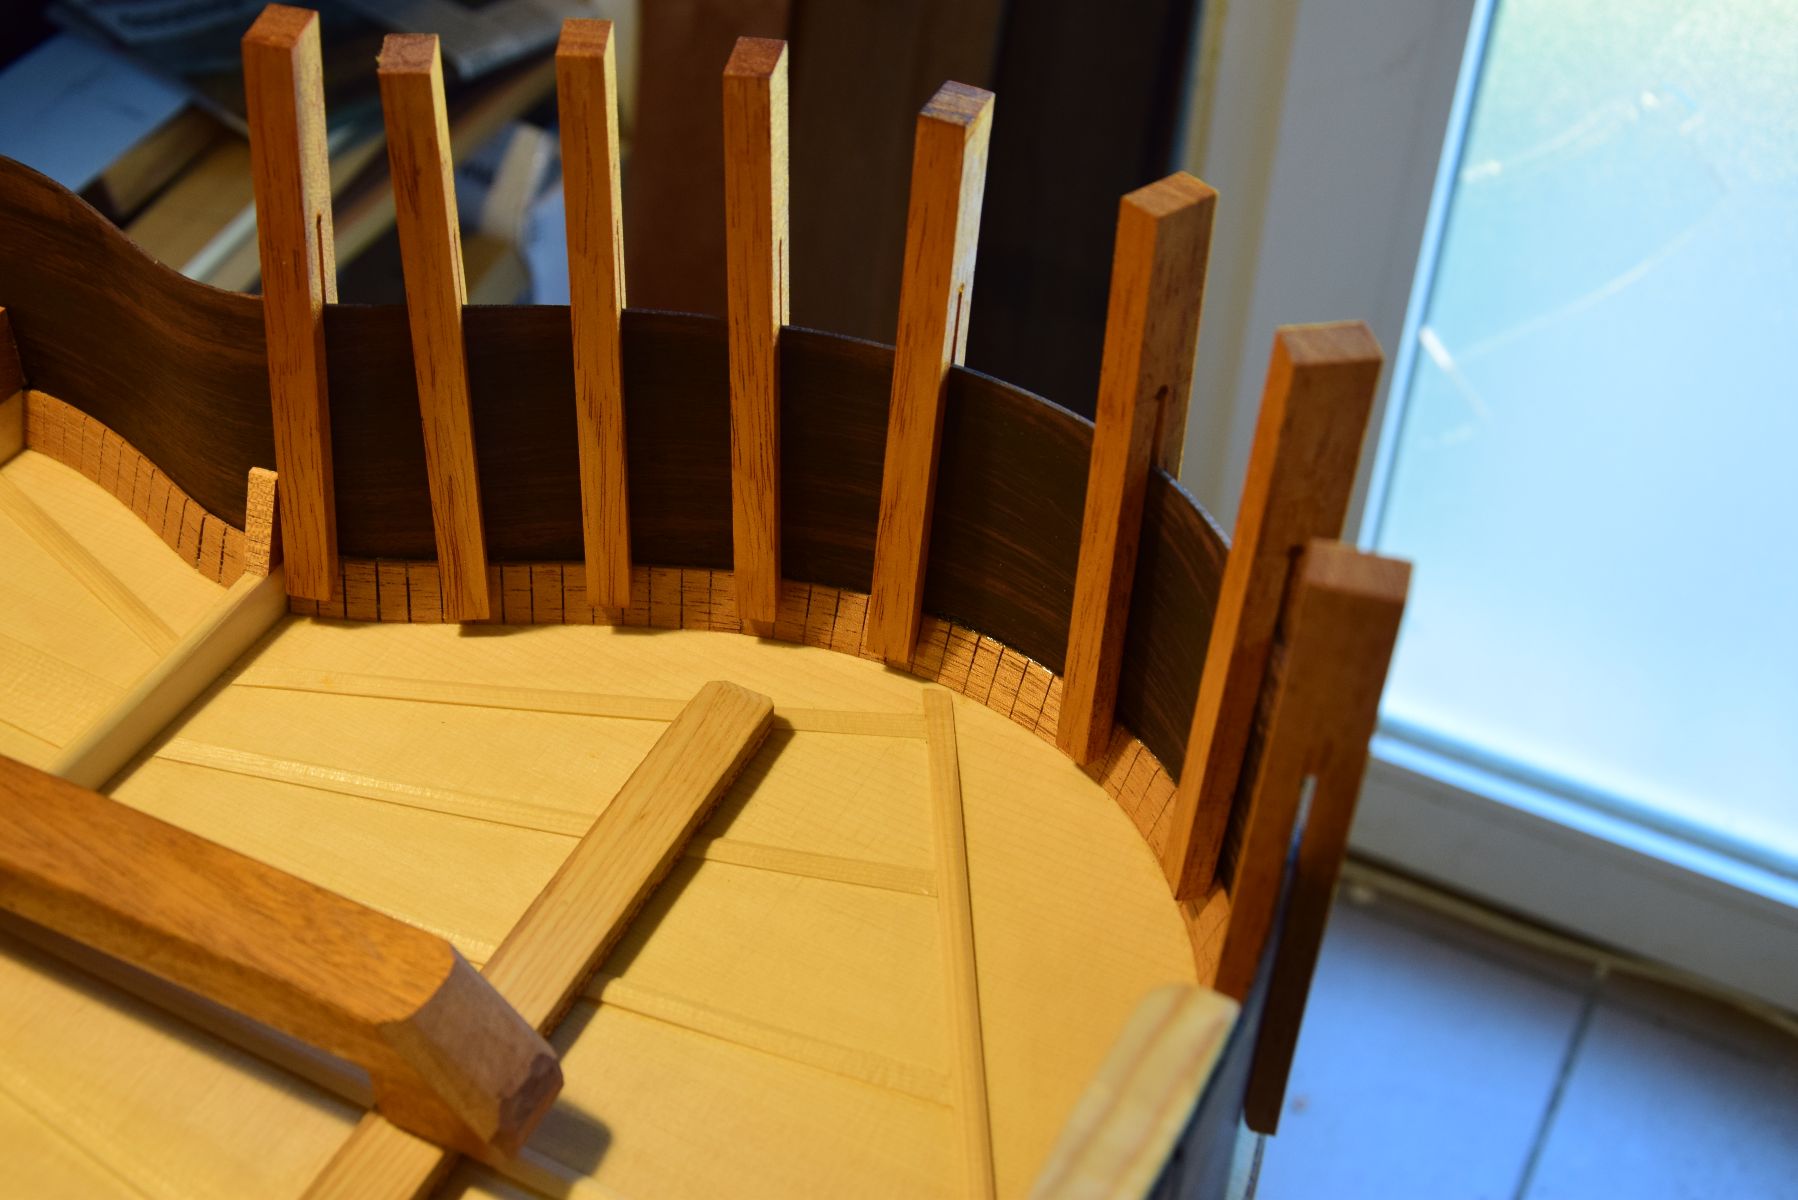
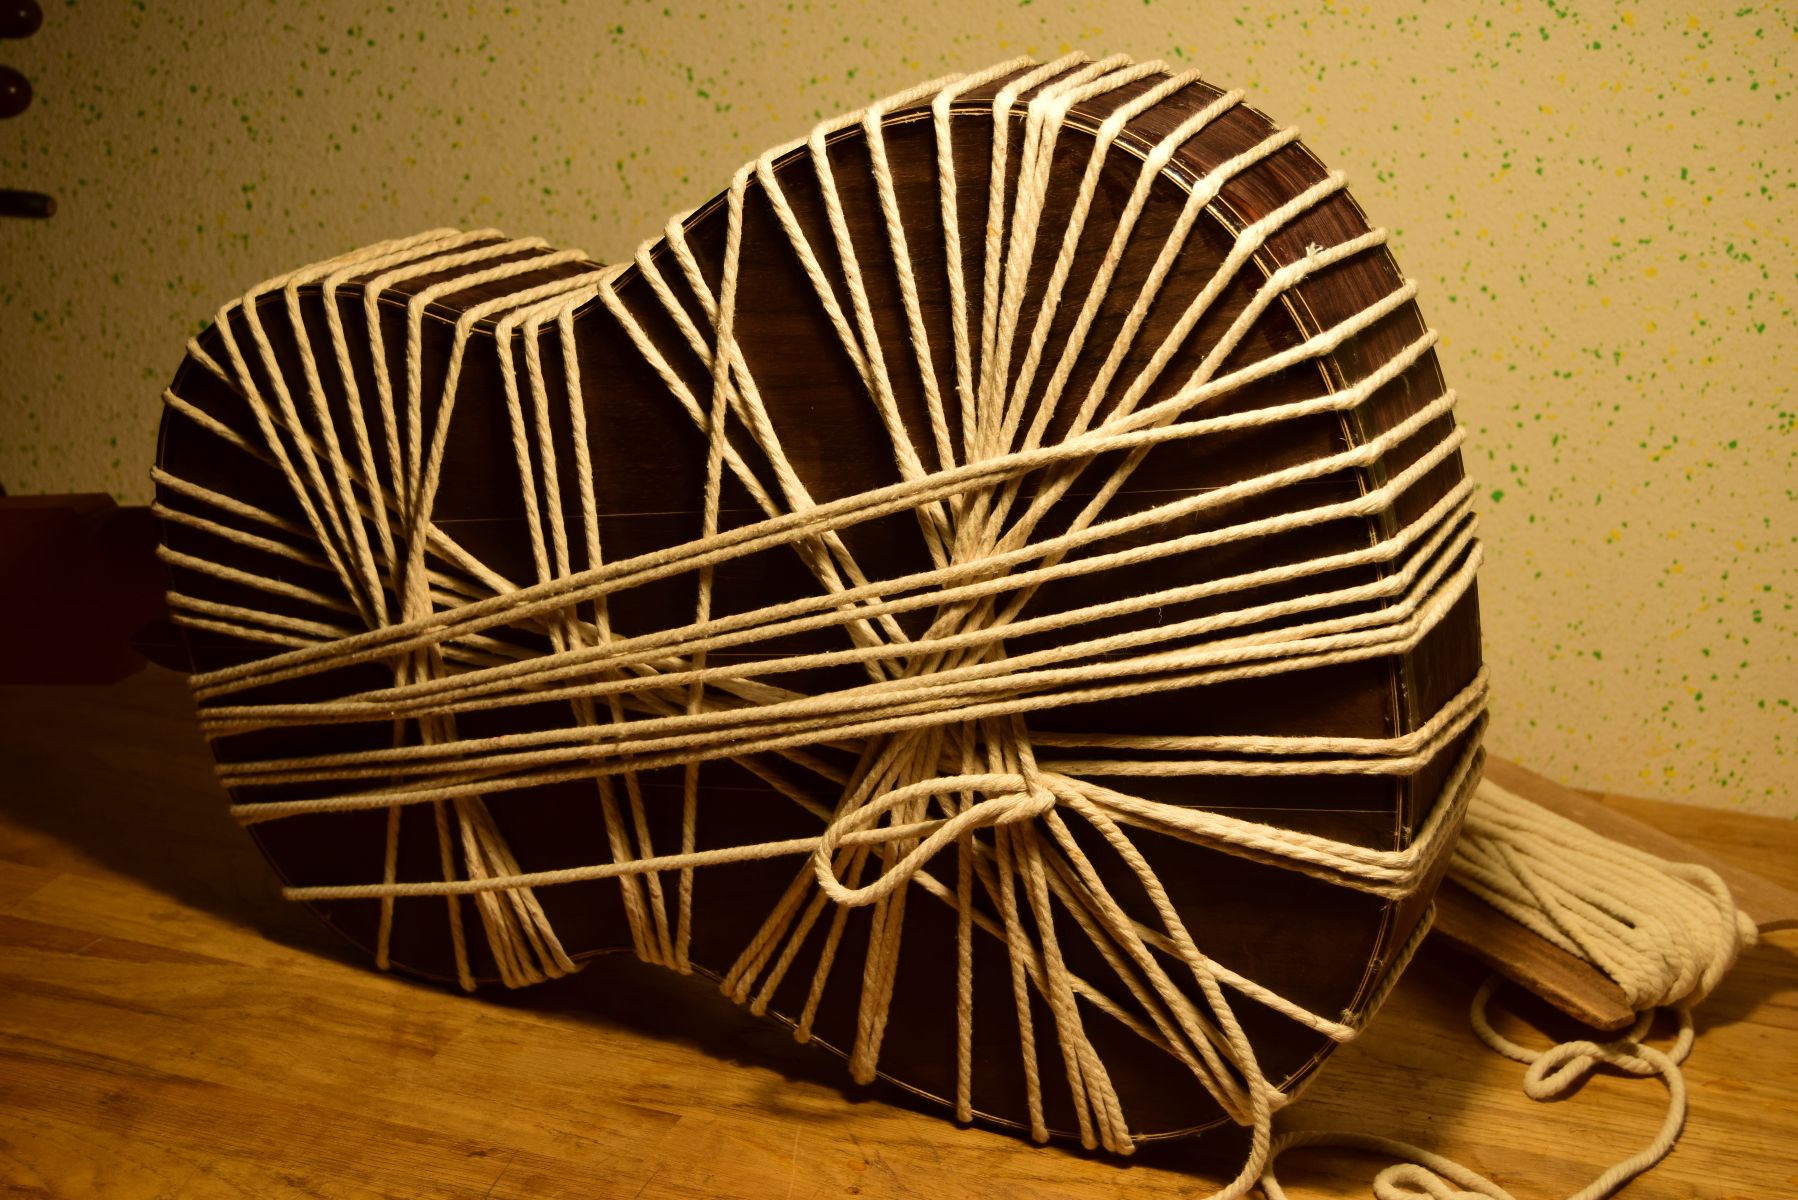
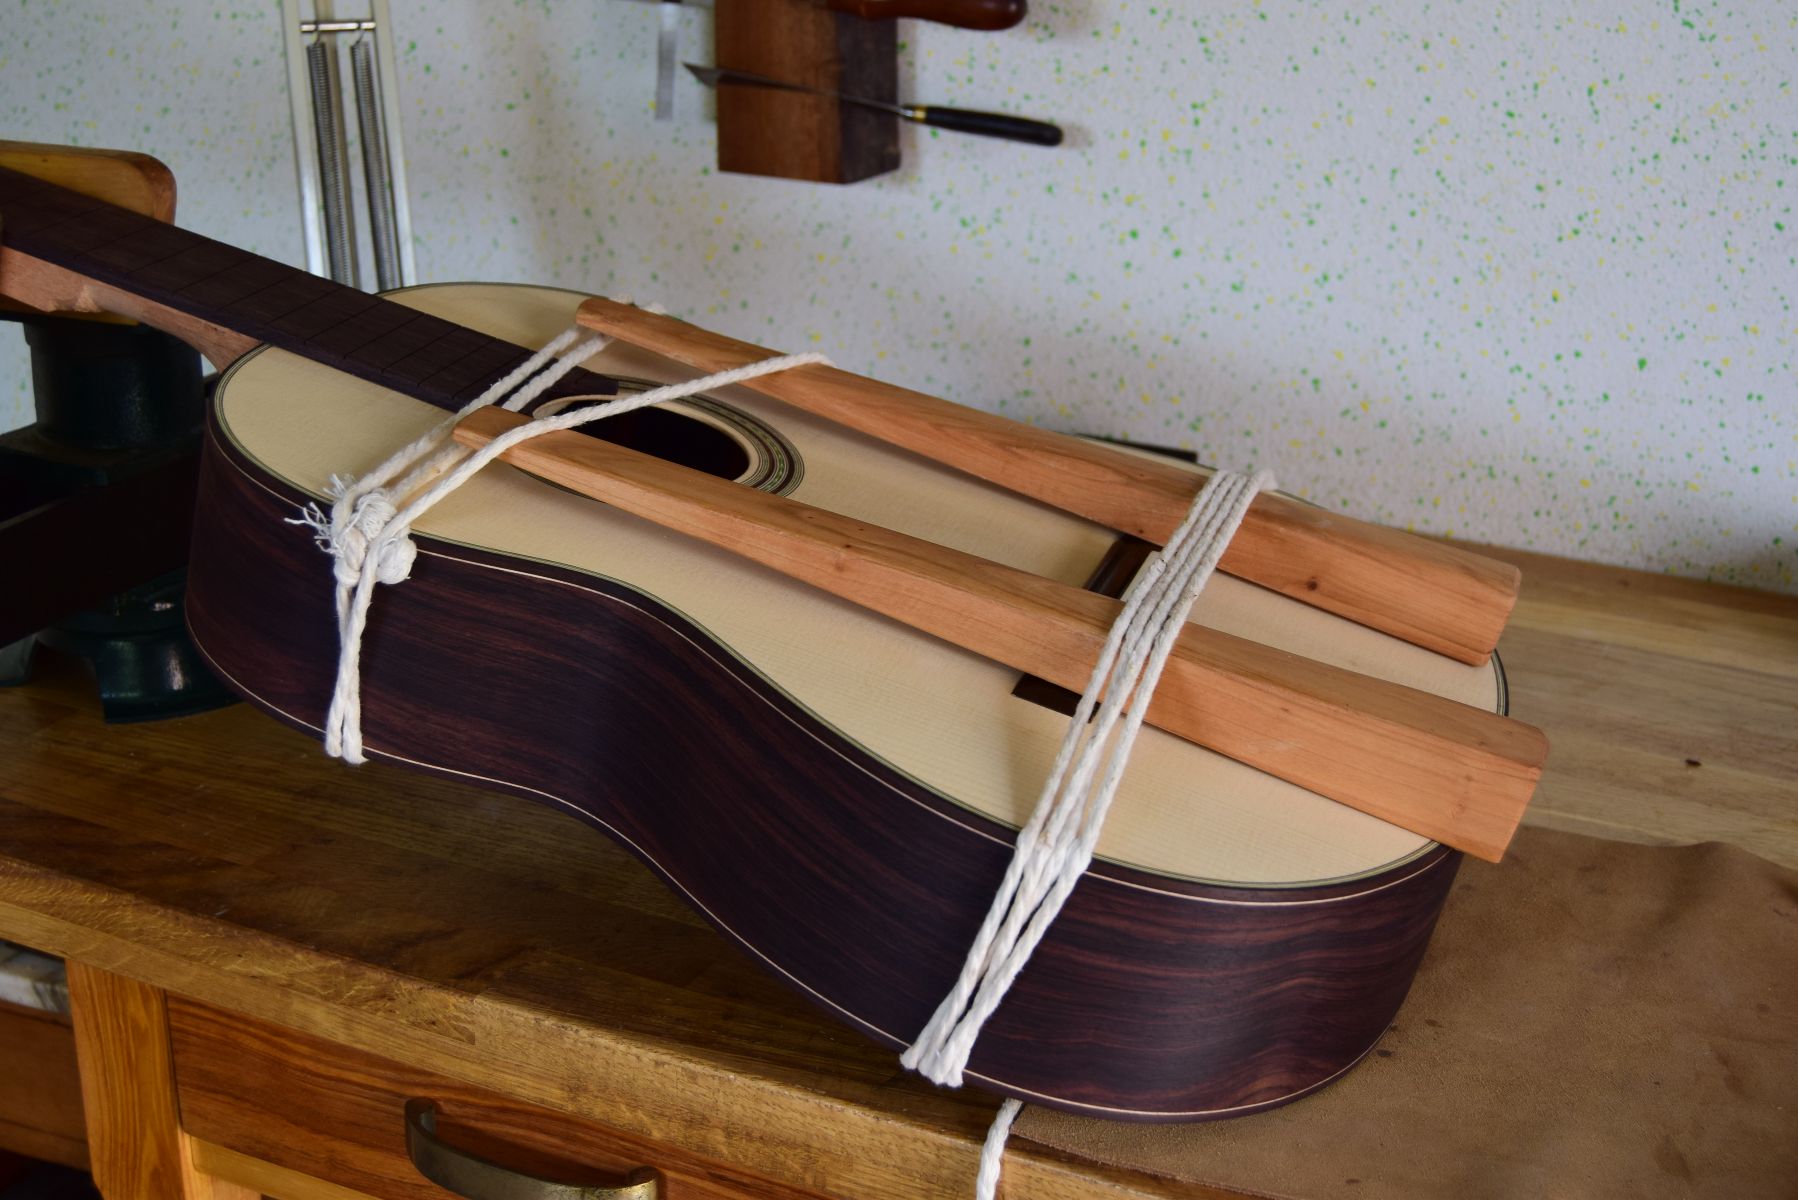
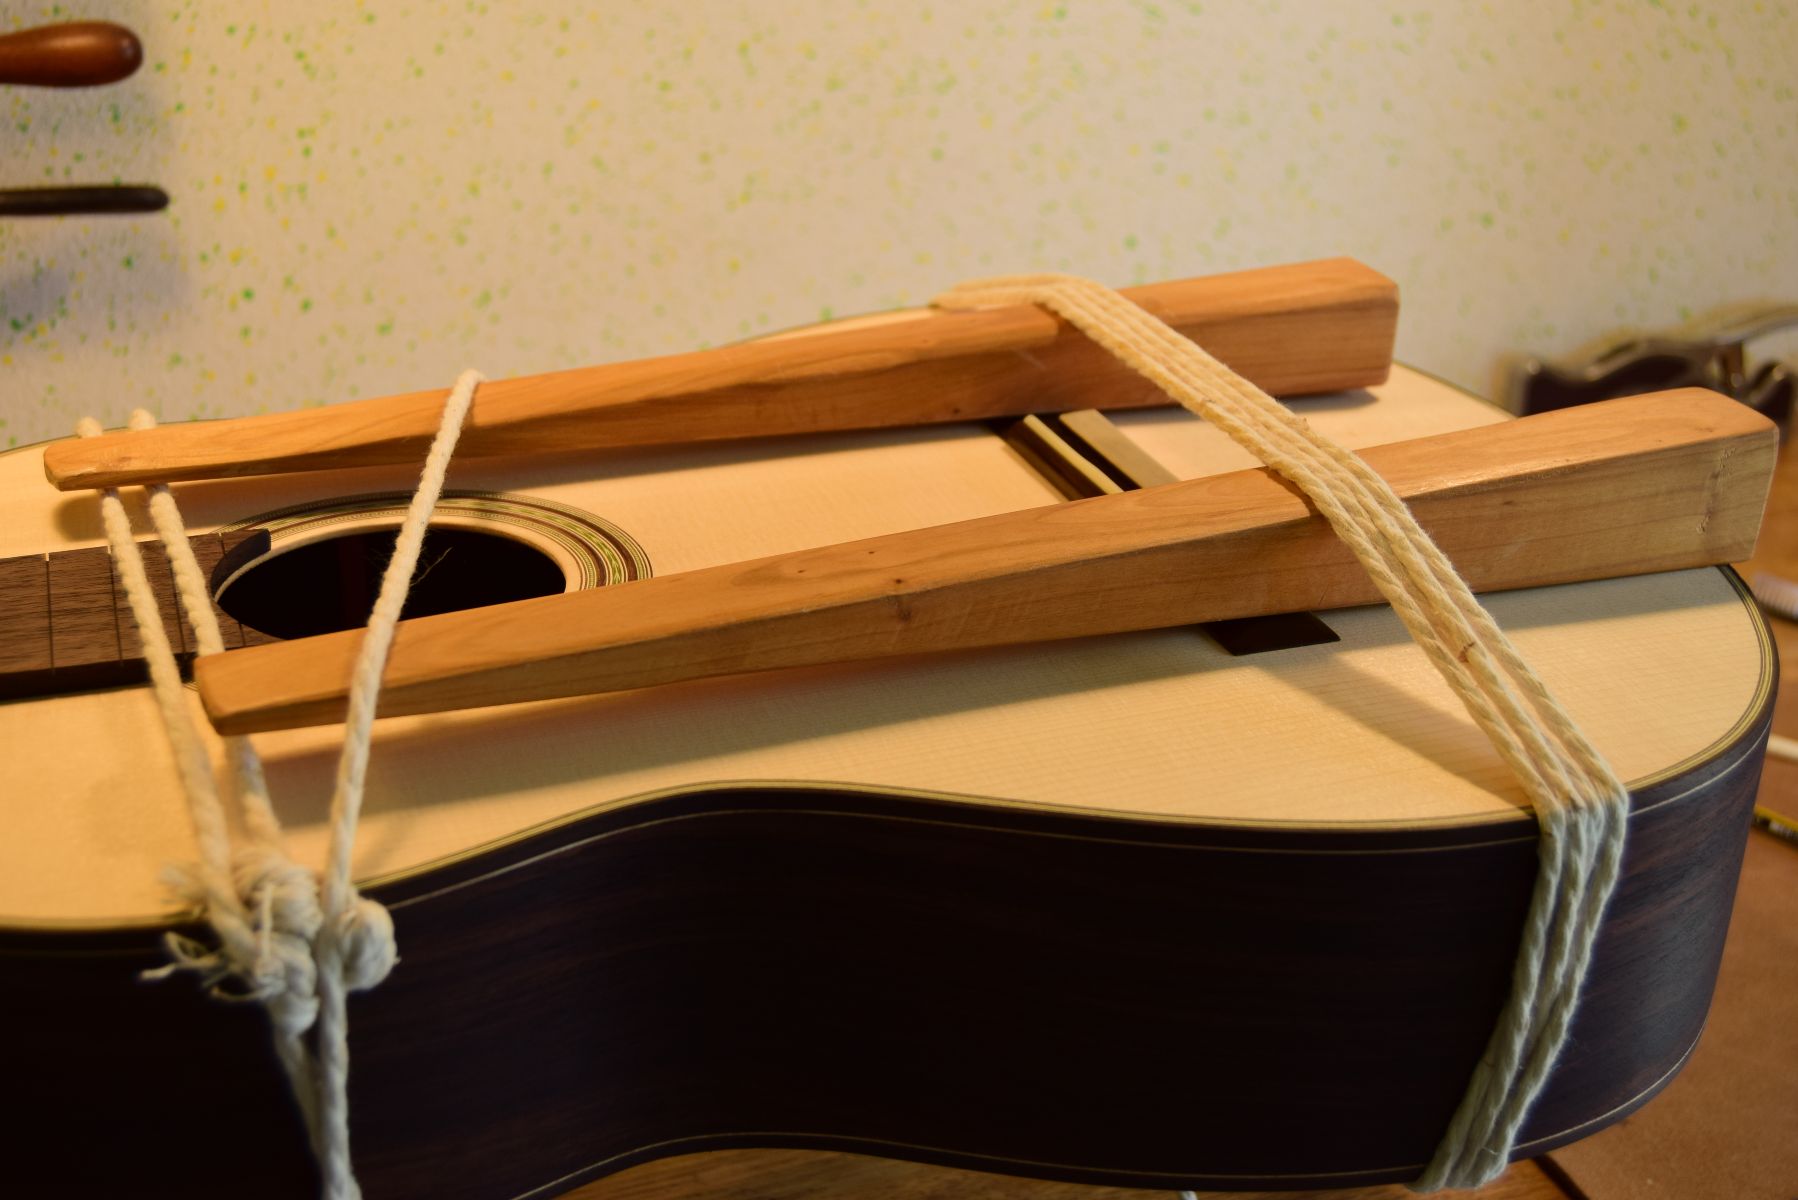
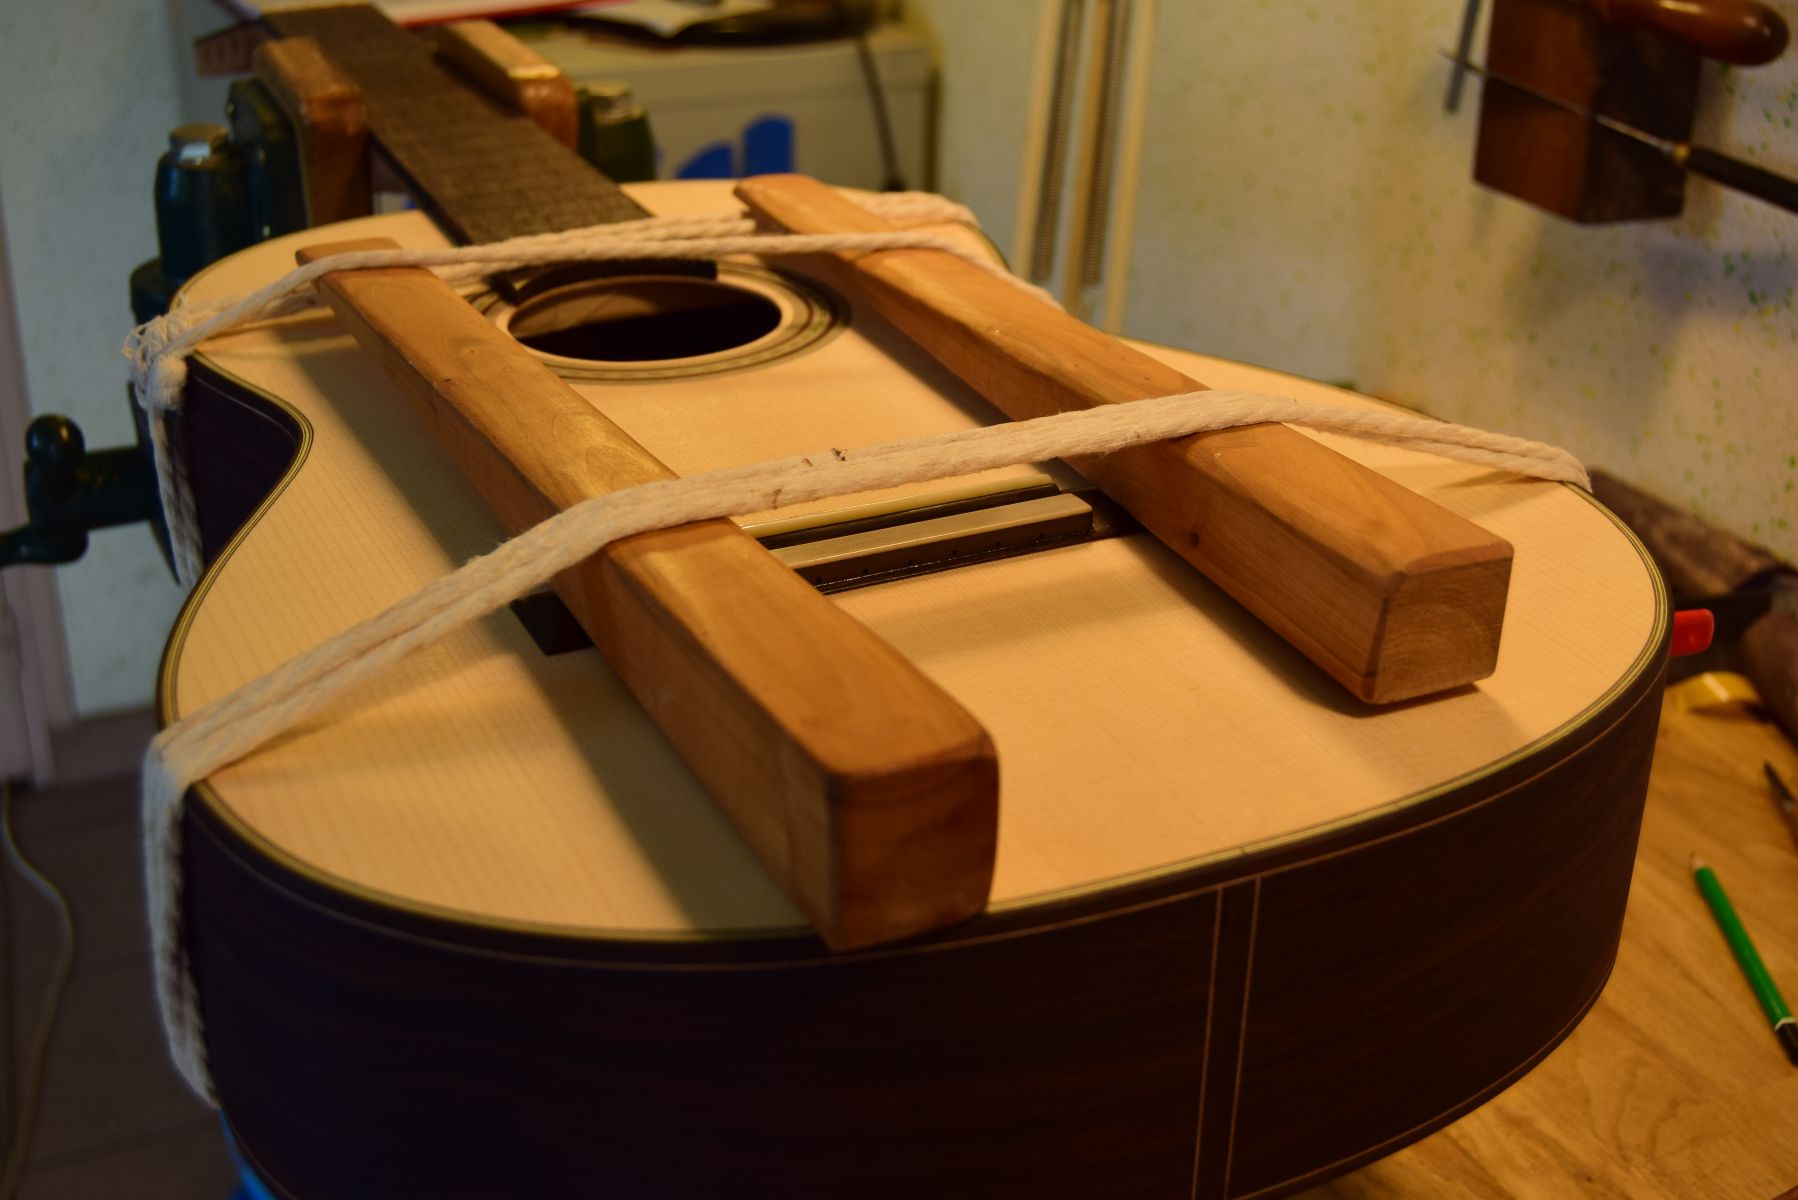
Today, the body closing process adopted by the majority of luthiers is to first glue the transverse bars to the back and to then adjust the notches and glue the assembled back to the sides. Torres’ method is different because the back bars are placed on the blocks previously glued to the sides. This helps to stabilize the structure. Once bars are glued in place, one can give the desired curve to the bars, which will then define the arch of the back. Glue is then applied to the bars and linings at the same time. The back plate is positioned and then tightened with a cotton string. About 100 meters of string are required for this process. While working with an animal glue, it’s important to reheat the glueing area for the bonding to be effective. The traditional method is to use a flame, a little alcohol-soaked cotton wool on a stick, or simply to put a little alcohol over the joints and light it. The time that the alcohol burns is sufficient to heat the wood and activate the glue. Attaching the back plate is an important process that impacts the final sound. When we use this method, we glue the back plate and the braces at the same time and humidity level. Contrary to the method in which we brace the back first, and then glue the back sometimes even many days later. The humidity level will surely be different and this could create some tensions in the box, so for the second method we need to closely control the humidity, to ensure that it is glued in a similar humidity rate. We then cover the structure which is already strong enough to avoid possible deformations. The downside of this method is that the execution is tricky, and the excessive amount of glue that is squeezed out is impossible to remove.
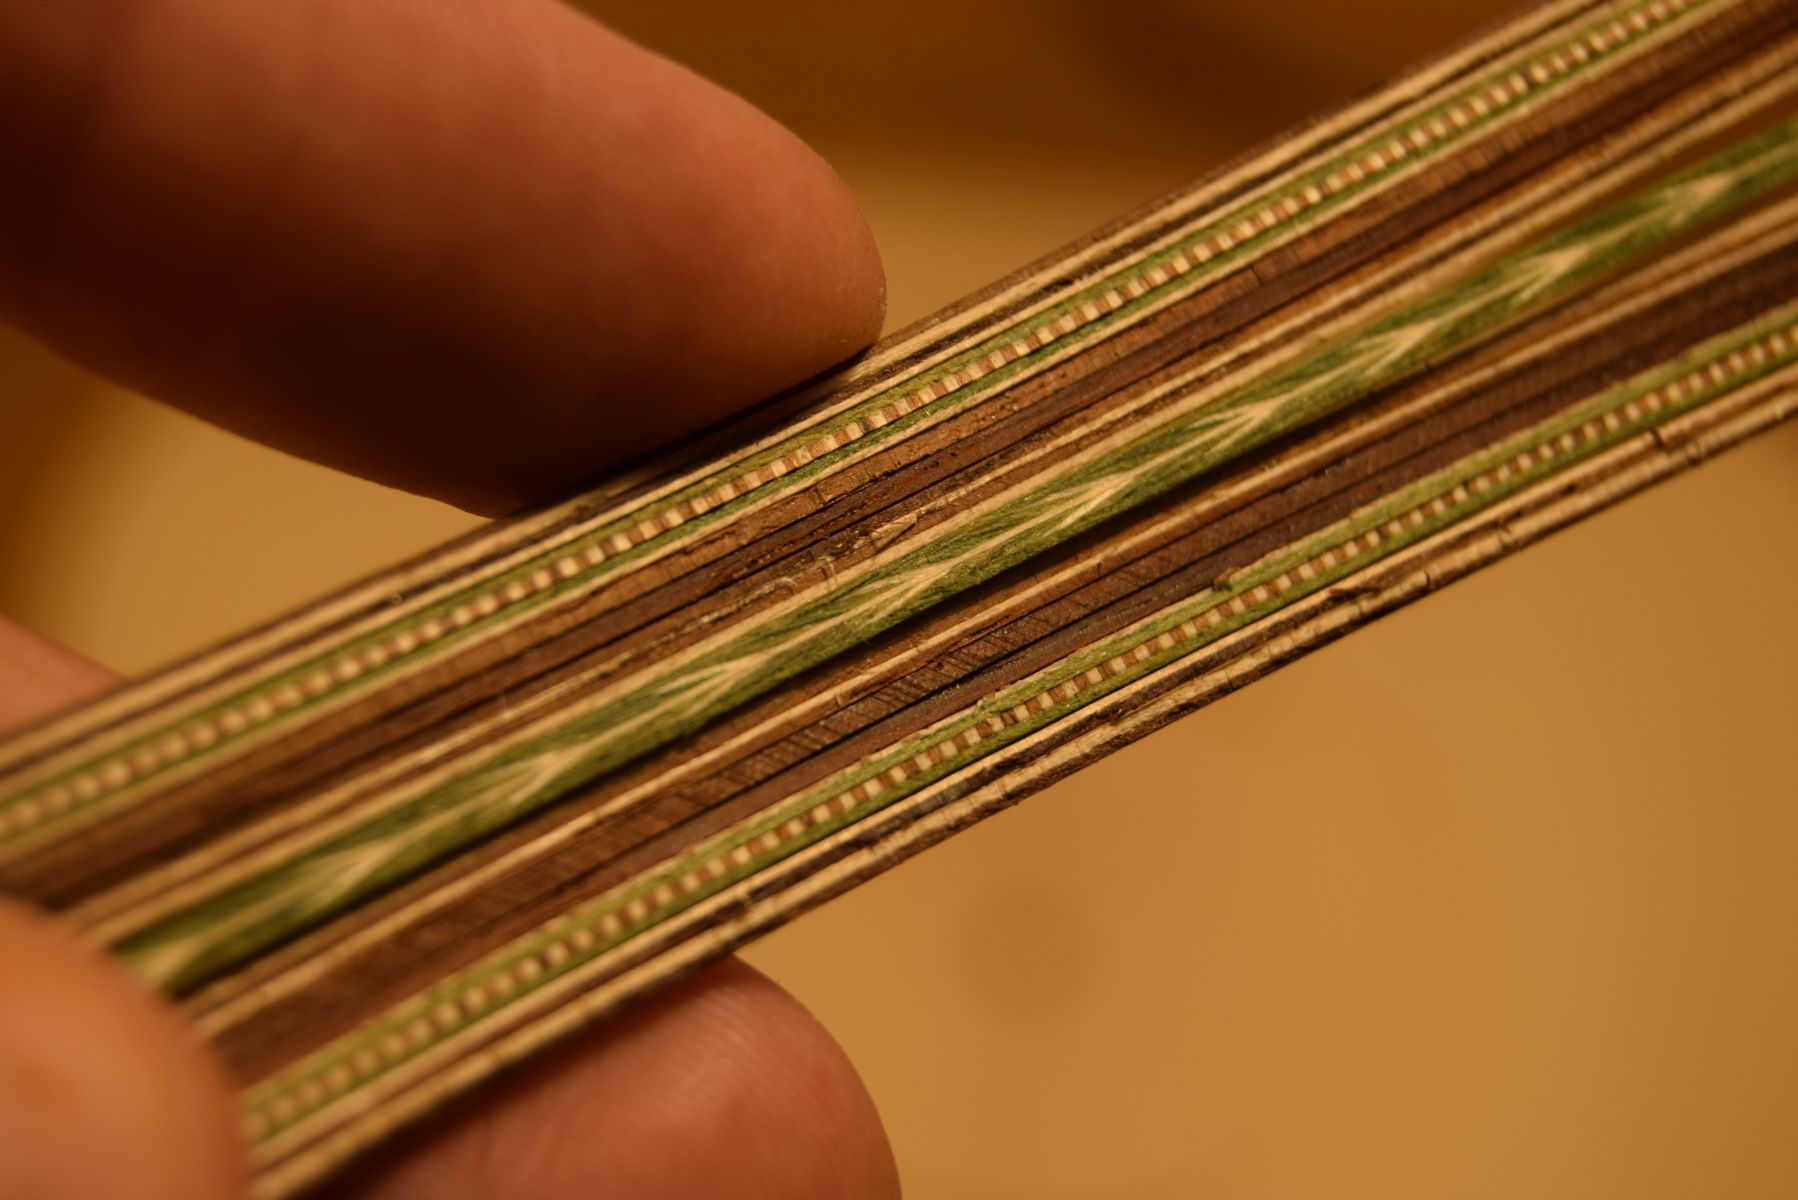
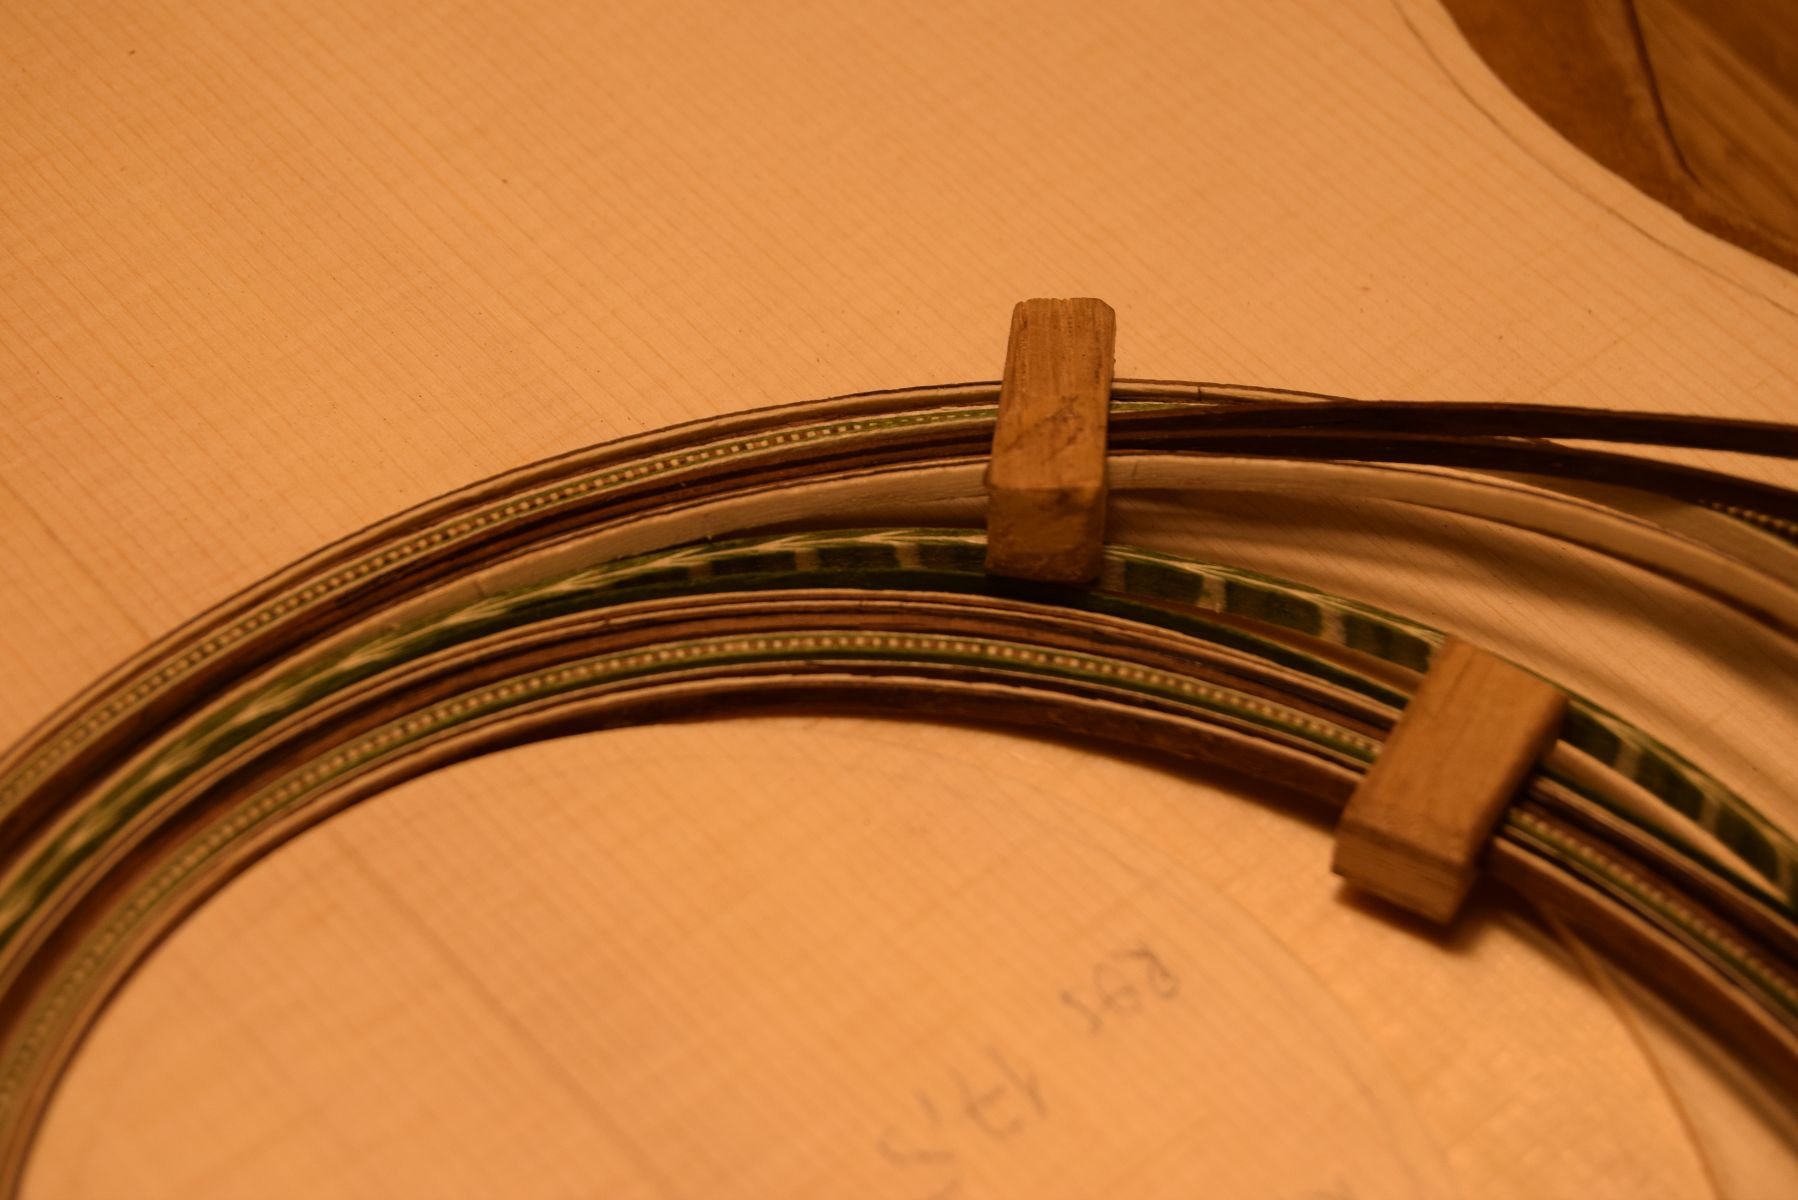
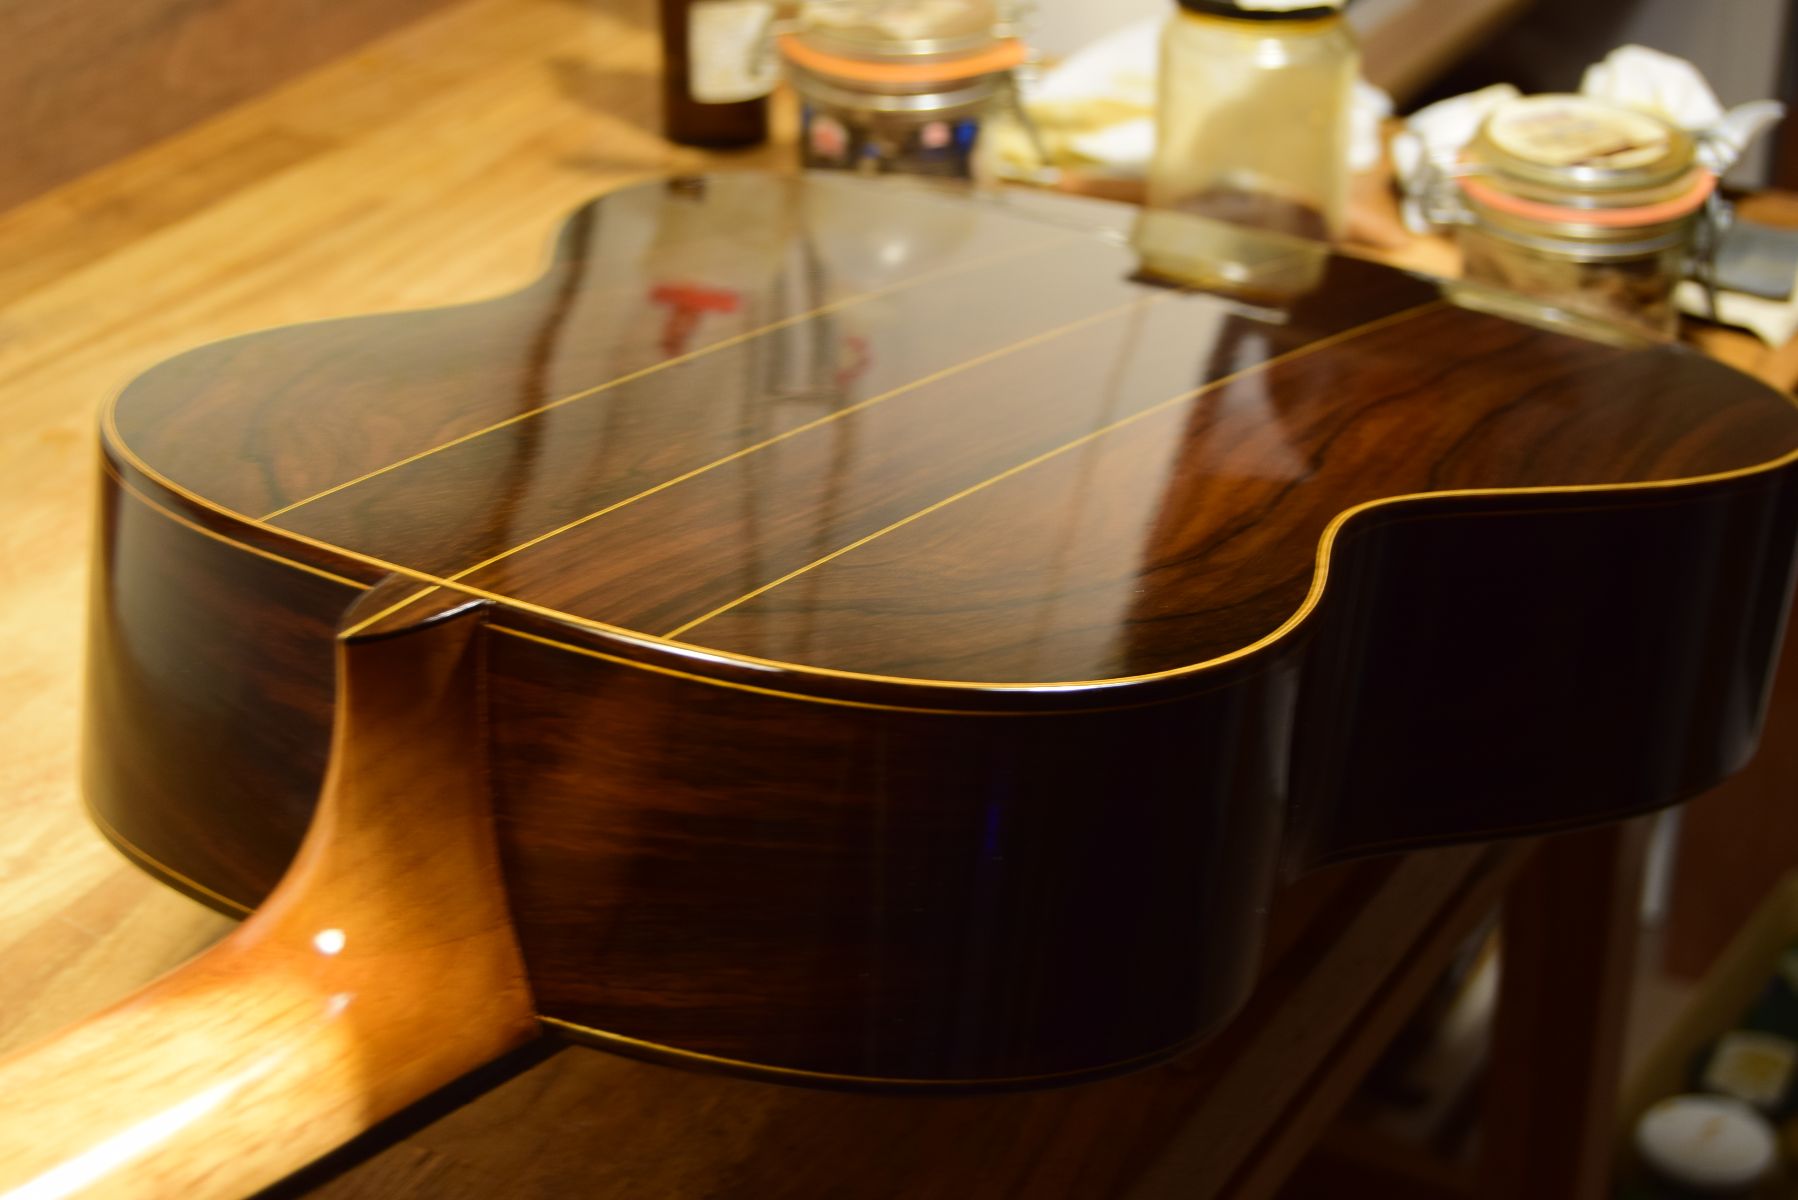
Bindings and purflings
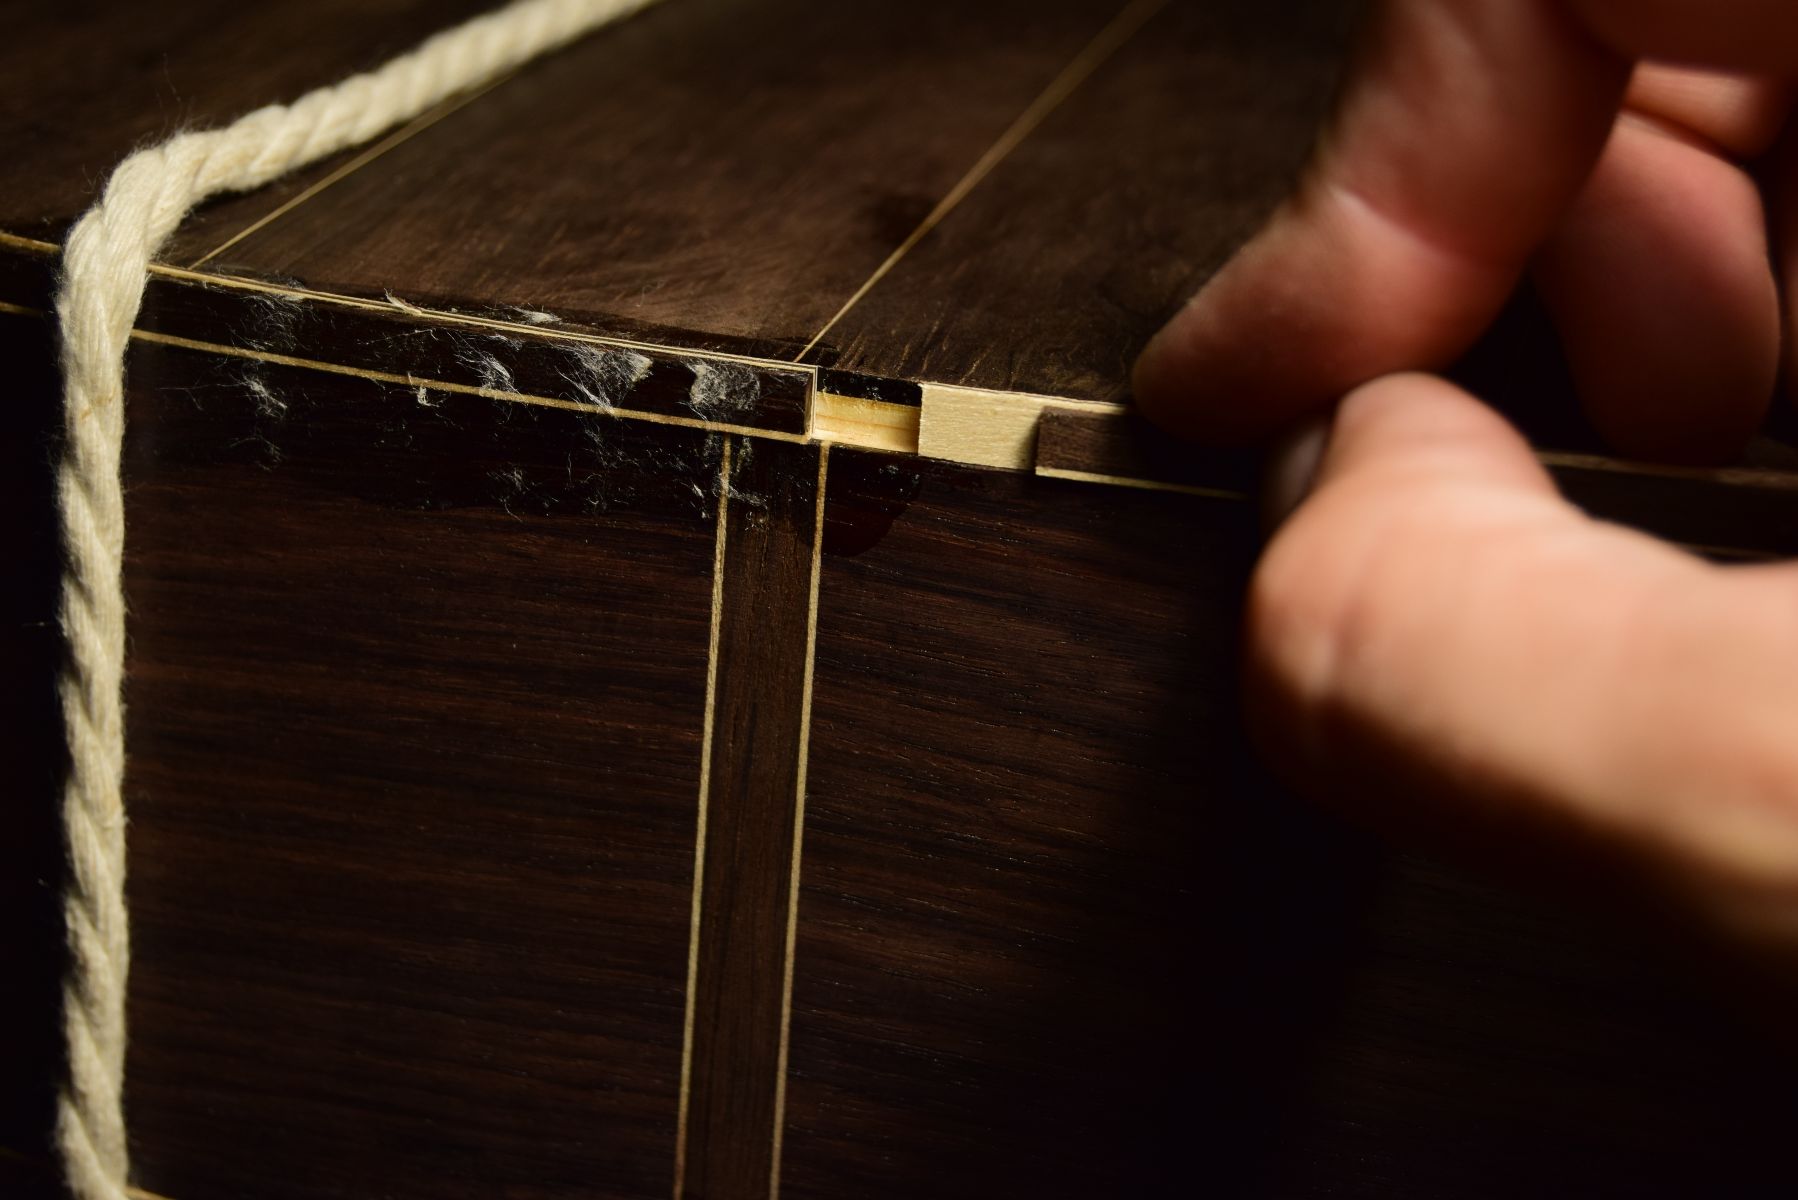
A single groove to house the purflings and binding in full thickness gives more rigidity to the body. The purflings are made of multiple layers of hardwood, all laminated with animal glue. This creates a very strong rim and offers a good alternative to solid hardwood linings. Of course, for very large purflings that exceed 4mm it is better to use a separate ledge.
Gluing the back and the bindings/purflings with a string.
Gluing the bridge
This is a traditional method of gluing the bridge with the help of a string and wedges. Doming of the top is a little bigger than the arch of the bridge which allows for a perfect bonding over the entire length by pressing only the wings. I scrape the bridge’s gluing surface with a convex scraper to create a slight concavity. This prevents the thin bridge edges from raising. The same process could also be applied while gluing the fingerboard.

The final step – applying the finish
THEN THE GUITAR IS FINISHED!
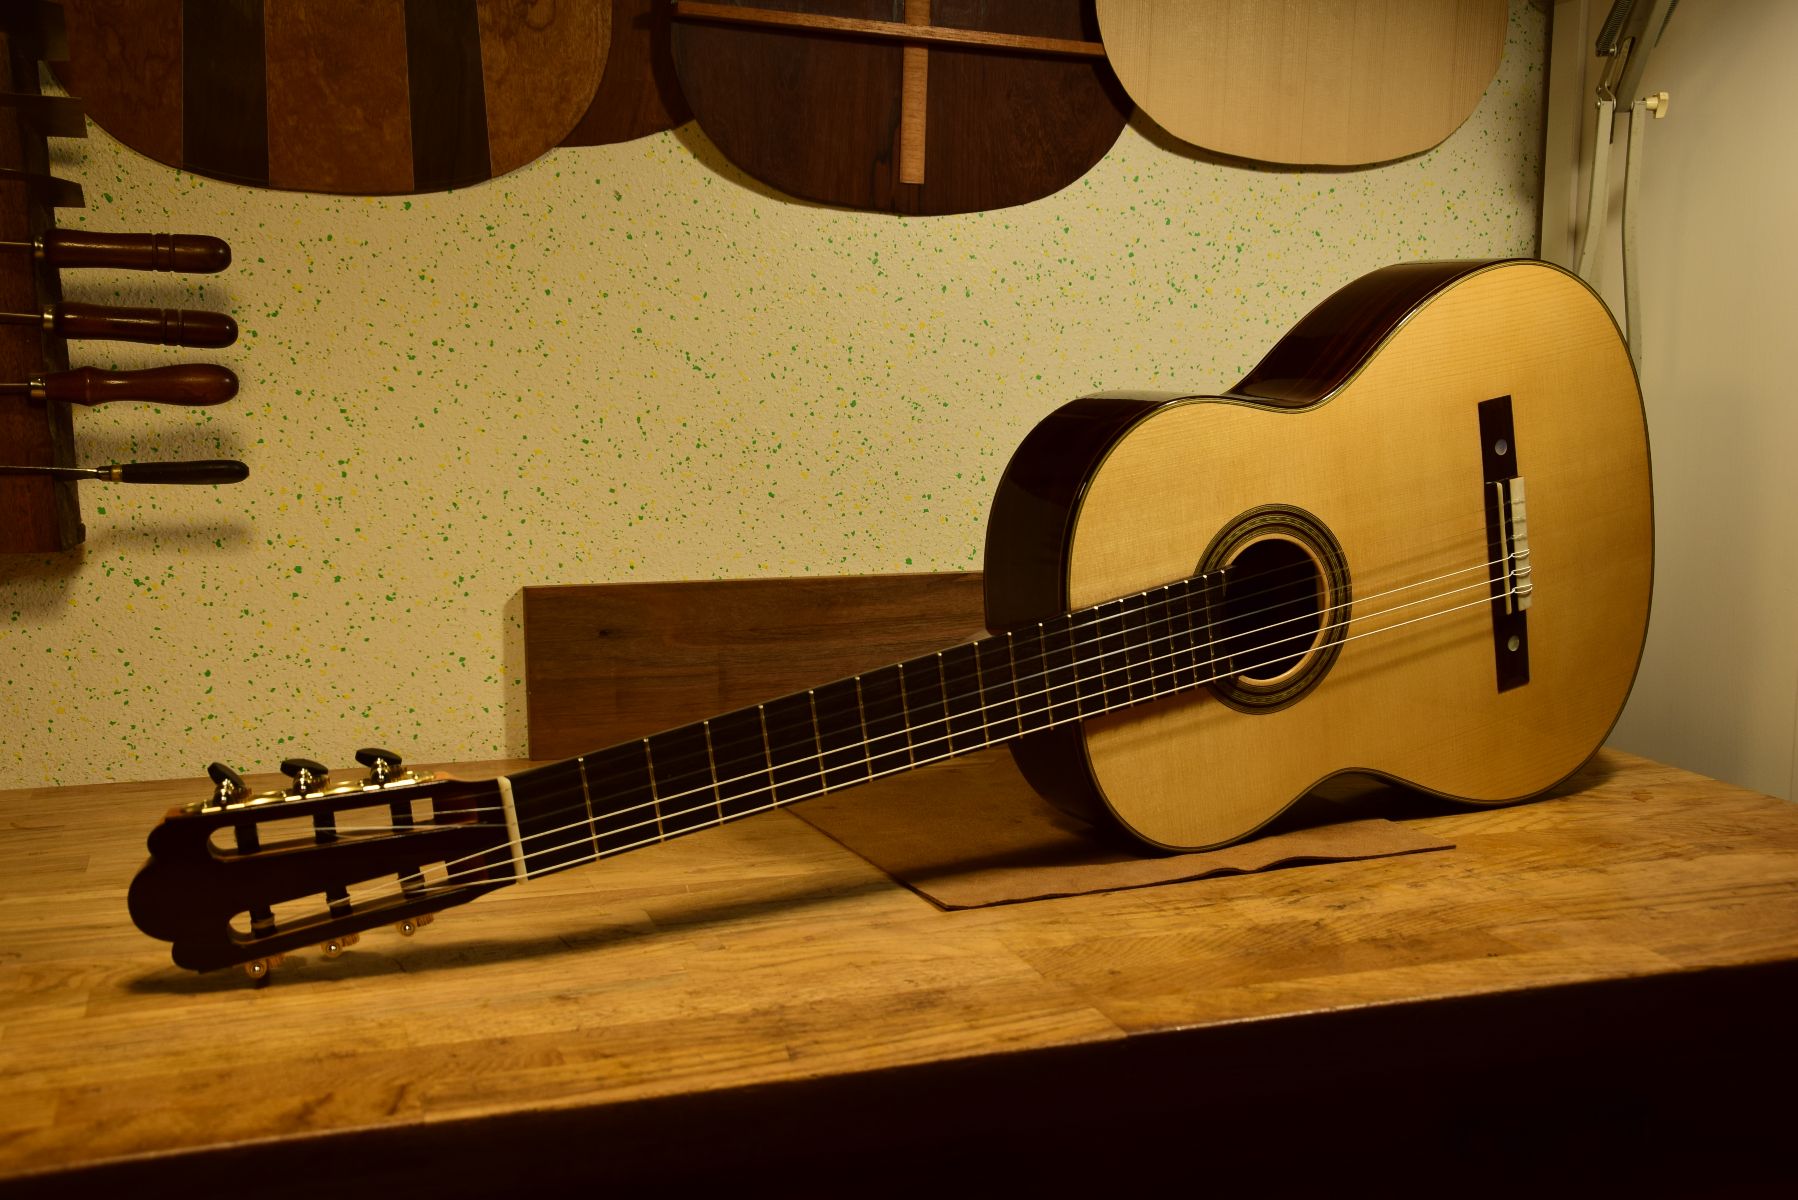
See 2020 YOURI SOROKA “TORRES” SP/CSAR at GSI
Based on the article from Guitare classique #93
0 comment
